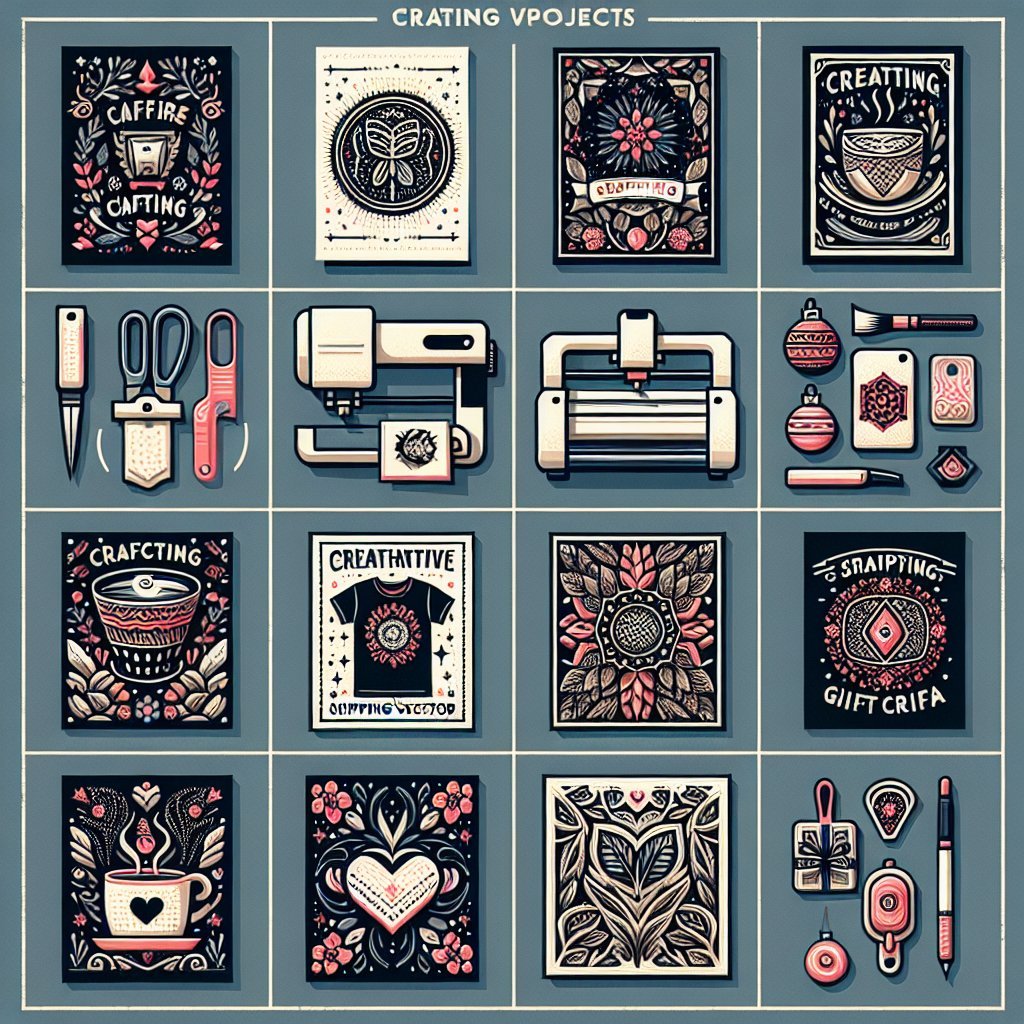
If you’re a Cricut enthusiast, you know the endless possibilities your machine offers. But have you ever considered leveraging shipping SVG designs? These often-overlooked templates provide a whole new realm of creative crafting opportunities. Here are 11 unique ideas you can adopt to infuse everyday items with your crafty touch using Cricut shipping SVG designs.
1. Custom Shipping Labels
Who says shipping labels need to be mundane? Elevate your packaging game with unique, custom labels.
Materials Needed:
- Printable Sticker Paper
- Cricut Shipping SVG Designs available at UnlimitedSVGDesigns
- Cricut machine
- Printer
- Transfer Tape
Steps:
- Load the shipping SVG design into Cricut Design Space and customize as needed.
- Print the design onto Printable Sticker Paper using your printer.
- Feed the printed sheet into your Cricut machine, selecting the appropriate cut settings.
- Use Transfer Tape to apply the custom labels onto your packages.
2. Shipping-Themed Greeting Cards
Merge the charm of snail mail with the finesse of Cricut crafting by creating shipping-themed greeting cards.
Materials Needed:
Steps:
- Select an SVG design that has an envelope or postal theme and import it into Cricut Design Space.
- Choose your cardstock color and load it into the Cricut machine.
- Cut out the design and any additional elements you want to use for embellishment.
- Assemble the pieces using glue and attach them onto a blank card to create a unique greeting card.
3. Home Office Organizers
Shipping SVG designs can help organize your home office in a chic, personalized way.
Materials Needed:
Steps:
- Pick a shipping SVG design that includes organizational elements like labels or icons.
- Load the vinyl into your Cricut machine and cut the designs.
- Weed out the excess vinyl and apply Transfer Tape to lift your design.
- Affix the vinyl design onto your office organizers like folders, boxes, or drawers.
Give your gifts a special touch with custom gift tags designed using shipping SVG templates.
Materials Needed:
Steps:
- Select a shipping SVG design that resembles a tag.
- Load the design into Cricut Design Space and cut it out on cardstock.
- Use a hole punch to create a hole for the ribbon.
- Thread the ribbon through the hole and attach the gift tags to your presents.
5. Shipping-Themed Party Decorations
Throw a shipping-themed party by crafting decorations using your Cricut machine.
Materials Needed:
Steps:
- Choose designs for banners, place cards, and centerpieces.
- Cut these designs using your Cricut machine.
- Assemble the different elements with glue and attach them to strings or stakes as needed for decoration.
- Set up your decorations around your party venue.
6. Custom Return Address Labels
Add a touch of elegance to your mail with custom return address labels.
Materials Needed:
- Printable Sticker Paper
- Cricut Shipping SVG Designs from UnlimitedSVGDesigns
- Printer
- Transfer Tape
Steps:
- Import a suitable SVG design into Cricut Design Space and customize it with your address.
- Print the design onto Printable Sticker Paper.
- Use the Cricut machine to cut out the labels.
- Use Transfer Tape to apply the labels onto your envelopes.
Ensure your luggage stands out at the carousel with personalized shipping tags.
Materials Needed:
- Leather or Faux Leather
- Cricut Shipping SVG Designs from UnlimitedSVGDesigns
- Key rings
- Thread and Needle or E6000 Glue
Steps:
- Select and customize the design in Cricut Design Space.
- Cut the design onto leather or faux leather using your Cricut.
- Attach the key ring through a hole in the tag, securing it with thread/needle or E6000 glue.
- Attach to your travel bags for a personalized touch.
8. Custom Binder/Filing Labels
Organization never looked so good. Create custom labels for your binders and files.
Materials Needed:
- Printable Vinyl or Sticker Paper
- Cricut Shipping SVG Designs from UnlimitedSVGDesigns
- Transfer Tape
Steps:
- Load the SVG design into Cricut Design Space and customize the text.
- Print the design onto Printable Vinyl or Sticker Paper.
- Use your Cricut machine to cut the design.
- Apply with Transfer Tape to binders and files.
9. Shipping-Themed Wall Art
Decorate your space with whimsical shipping-themed wall art.
Materials Needed:
Steps:
- Select a shipping SVG design and load it into Cricut Design Space.
- Cut the design onto vinyl.
- If you wish to personalize the background, paint the canvas before proceeding.
- Use Transfer Tape to apply the vinyl design to the canvas.
- Display your unique shipping-themed wall art.
10. Custom Desk Accessories
Add character to your workspace with custom desk accessories featuring shipping designs.
Materials Needed:
- Adhesive Vinyl
- Plant Pots, Pencil Holders, or Mouse Pads
- Cricut Shipping SVG Designs from UnlimitedSVGDesigns
- Transfer Tape
Steps:
- Choose a suitable shipping SVG design and customize it in Cricut Design Space.
- Cut the design onto Adhesive Vinyl using your Cricut.
- Weed out the excess vinyl and use Transfer Tape to apply the design to your desk accessories.
11. Personalized Packaging Tape
Make your packages stand out with custom packaging tape adorned with unique designs.
Materials Needed:
- Clear Packaging Tape
- Printed shipping designs on Transparent Vinyl
- Cricut Shipping SVG Designs from UnlimitedSVGDesigns
- Transfer Tape
Steps:
- Print your chosen design onto Transparent Vinyl.
- Use the Cricut machine to cut out the designs.
- Remove excess vinyl and apply the designs to clear packaging tape using Transfer Tape.
- Use your newly crafted packaging tape to seal your parcels.
If you’re inspired to get started with any of these projects, explore a plethora of Cricut Shipping SVG Designs available online. Ready to get crafting? Order the Materials Needed and elevate your crafting game!
For even more creative inspiration and a vast array of designs, don't forget to visit UnlimitedSVGDesigns.