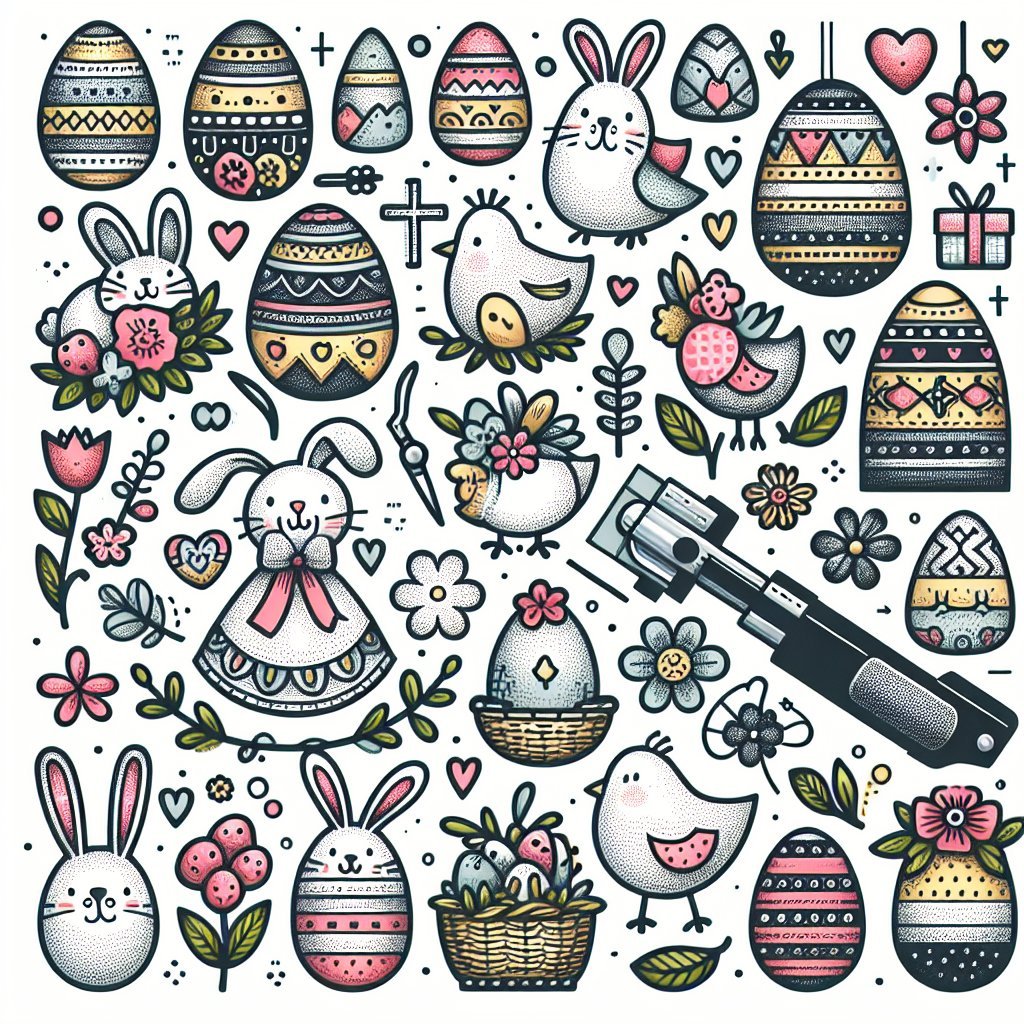
If you're a Cricut enthusiast, you know the immense potential of Cricut's versatility. As Easter approaches, it's time to put your creativity to the test. Easter SVG Designs offer countless opportunities to craft beautiful, functional items. In this article, we'll explore twelve ingenious ways to use those designs, ensuring your Easter season is as crafty as it is festive.
1. Personalized Easter Egg Baskets
Nothing says Easter quite like a personalized Easter egg basket. Cricut Easter SVG Designs allow you to add those unique touches that make a simple basket truly special.
Materials Needed:
- Vinyl
- Easter SVG Designs
- Cricut Machine
- Transfer Tape
- Plain Easter Baskets
- Weeding tools
Steps:
1. Choose and upload your Easter SVG Design into the Cricut Design Space.
2. Cut the SVG design on vinyl using your Cricut machine.
3. Weed out the excess vinyl from your design.
4. Use transfer tape to adhere the vinyl design onto your plain Easter baskets.
5. Smooth out any bubbles, and voila, you have a custom Easter basket.
2. Easter-Themed Table Settings
Add a festive touch to your Easter dining experience with themed table settings. Incorporate SVG designs to create personalized napkin rings, placemats, and name cards.
Materials Needed:
- Cardstock
- Easter SVG Designs
- Cricut Machine
- Adhesive materials
- Assorted ribbons
Steps:
1. Select your favorite Easter SVG designs and upload them to the Cricut Design Space.
2. Cut the designs on cardstock.
3. Assemble the napkin rings by shaping and attaching the cardstock cutouts.
4. Add ribbon for an elegant finish.
5. Create name cards by printing the names and affixing them with adhesive.
3. Custom Easter Egg Stickers
Use Easter SVG Designs to create unique stickers for decorating Easter eggs.
Materials Needed:
- Printable Vinyl
- Easter SVG Designs
- Cricut Machine
- Eggs
Steps:
1. Upload your Easter SVG designs into the Cricut Design Space.
2. Print and cut the designs on printable vinyl.
3. Peel and stick the designs onto the eggs for a whimsical decoration.
4. Easter-Themed Door Signs
Welcome your guests with a cheerful Easter door sign crafted using Cricut Easter SVG Designs.
Materials Needed:
- Wood Veneer
- Easter SVG Designs
- Cricut Machine
- Paint and brushes
- Adhesive materials
- Ribbon or twine
Steps:
1. Load your Easter SVG designs into the Cricut Design Space.
2. Cut the wood veneer using your Cricut machine.
3. Paint the wood veneer with Easter-themed colors.
4. Assemble the pieces using adhesive materials.
5. Add a ribbon or twine to hang your festive door sign.
Get a variety of unique Easter SVG Designs and more at Unlimited SVG Designs.
5. Heat Transfer Easter Tees
Create custom Easter-themed T-shirts with heat transfer vinyl and Easter SVG Designs.
Materials Needed:
- Iron-On (HTV)
- Easter SVG Designs
- Cricut Machine
- Plain T-shirts
- Heat press or iron
Steps:
1. Upload your Easter SVG design into the Cricut Design Space.
2. Cut the design with HTV using the Cricut machine.
3. Weed the unnecessary vinyl.
4. Position the design on your T-shirt.
5. Use a heat press or iron to adhere the design onto the shirt.
Make your Easter gift-giving extra special with personalized gift tags crafted from Easter SVG Designs.
Materials Needed:
- Glitter Cardstock
- Easter SVG Designs
- Cricut Machine
- Hole punch
- Ribbon or twine
Steps:
1. Upload your favorite Easter SVG designs into Cricut Design Space.
2. Cut the design on glitter cardstock.
3. Punch a hole at the top of the tag.
4. Tie a ribbon or twine through the hole.
5. Attach to your Easter gifts.
7. Easter-Themed Pillowcases
Add a touch of Easter to your home decor by creating custom pillowcases using Infusible Ink.
Materials Needed:
- Infusible Ink
- Easter SVG Designs
- Cricut Machine
- Blank pillowcases
- Heat press or iron
Steps:
1. Upload the Easter SVG design into Cricut Design Space.
2. Cut the design on Infusible Ink sheets.
3. Weed the excess ink.
4. Position the design on your pillowcase.
5. Use a heat press or iron to transfer the design.
8. Decorative Easter Jars
Transform ordinary jars into festive Easter decor pieces with SVG designs and adhesive vinyl.
Materials Needed:
- Adhesive Vinyl
- Easter SVG Designs
- Cricut Machine
- Plain jars
- Transfer tape
- Weeding tools
Steps:
1. Choose and upload your Easter SVG designs into Cricut Design Space.
2. Cut the designs on adhesive vinyl.
3. Weed the excess vinyl.
4. Use transfer tape to adhere the vinyl designs to the jars.
5. Smooth out any air bubbles.
9. Easter Bunny Ears Headbands
Let the kids have some fun with a DIY bunny ears headband made using felt and Easter SVG designs.
Materials Needed:
- Felt
- Easter SVG Designs
- Cricut Machine
- Headbands
- Hot glue gun
Steps:
1. Upload the Easter bunny ears SVG design into Cricut Design Space.
2. Cut the design on felt.
3. Attach the felt pieces onto the headbands using a hot glue gun.
4. Add any extra embellishments you desire.
10. Personalized Easter Mugs
Create delightful Easter-themed mugs using Cricut's Infusible Ink and SVG designs.
Materials Needed:
- Infusible Ink
- Easter SVG Designs
- Cricut Machine
- Blank mugs
- Heat press
Steps:
1. Select and upload your Easter SVG designs into the Cricut Design Space.
2. Cut the designs on Infusible Ink sheets.
3. Weed the unnecessary parts.
4. Position the design on the blank mug.
5. Use a heat press to transfer the design onto the mug.
11. Easter Egg Hunt Signs
Enhance your Easter egg hunt with custom signs created using Cricut and your favorite SVG designs.
Materials Needed:
- Chipboard
- Easter SVG Designs
- Cricut Machine
- Paint and brushes
- Wooden stakes
Steps:
1. Upload the SVG designs into Cricut Design Space.
2. Cut the designs on chipboard.
3. Paint the designs and let them dry.
4. Attach the cutouts to wooden stakes.
5. Place the signs around your yard for an exciting Easter egg hunt.
12. Easter Cookie Stencils
Bring your baking to the next level with custom-made cookie stencils.
Materials Needed:
- Stencil Vinyl
- Easter SVG Designs
- Cricut Machine
- Spatula tool
- Blank cookies
- Icing or powdered sugar
Steps:
1. Upload your Easter SVG designs into Cricut Design Space.
2. Cut the designs on stencil vinyl.
3. Remove the inner parts, leaving the outer stencil.
4. Place the stencil onto the cookies.
5. Apply icing or powdered sugar over the stencil to create beautiful cookie designs.
There you have it! Twelve ingenious ways to incorporate Cricut Easter SVG Designs into your crafting this season. For all your crafting materials, don't forget you can order the materials needed right online. Let your creativity run wild and make this Easter truly special!