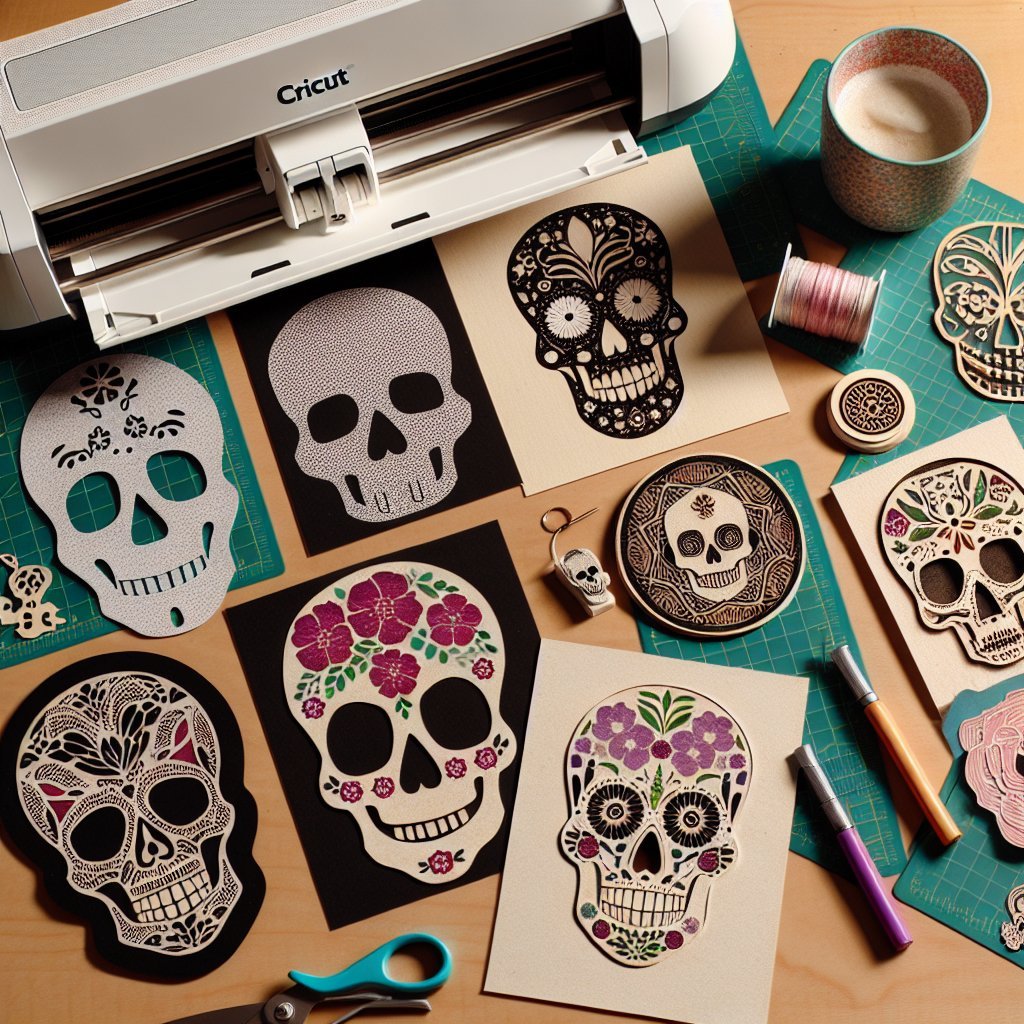
7 Real-Life DIY Ideas for Cricut Skull SVG Designs
Transform your windows into a Halloween spook-fest with Cricut Skull SVG designs. Window clings are an easy yet impactful decoration, providing a temporary spooky vibe. [Read the full article below]

Transform your windows into a Halloween spook-fest with Cricut Skull SVG designs. Window clings are an easy yet impactful decoration, providing a temporary spooky vibe. [Read the full article below]

Transform your windows into a Halloween spook-fest with Cricut Skull SVG designs. Window clings are an easy yet impactful decoration, providing a temporary spooky vibe.
Window Cling sheets, Cricut Skull SVG designs, Transfer Tape, and your trusty Cricut machine.
1. Download and upload your favorite skull SVG designs to the Cricut Design Space.
2. Place the window cling material on your Cricut mat and load it into the machine.
3. Scale the skull designs to your desired sizes and hit "Cut".
4. Weed out the excess material from your skull decals.
5. Use transfer tape to apply the decals to your windows, smoothing out any air bubbles.
Ready to spook your neighbors? Find more skull SVG designs to get started!
Add a touch of rebellious glam to your accessories with skull designs etched on leather. Perfect for custom tags, keychains, and more!
Leather or Faux Leather, Cricut Skull SVG designs, Transfer Tape, Cricut StrongGrip Mat, and your Cricut machine.
1. Upload your skull SVG designs into the Cricut Design Space.
2. Place the leather on the Cricut mat and secure it with masking tape.
3. Set your Cricut to “Cut” the leather material.
4. Let your machine do the magic. Carefully remove the cut pieces.
5. Assemble the pieces into your desired accessories like keychains or tags. Add embellishments for an extra flair!
Create edgy leather goods with ease. Explore more skull SVG designs here.
Rock a unique look by customizing your t-shirts and apparel using skull designs. These make excellent personalized gifts or even merch!
T-shirts or fabric items, Iron-On (HTV) sheets, Cricut Skull SVG designs, Cricut machine, Weeding tool, and an Iron or Heat Press.
1. Choose and upload your skull SVG designs into the Cricut Design Space.
2. Load the iron-on material onto your Cricut mat, shiny side down.
3. Cut the design with your Cricut machine.
4. Weed out any unwanted parts of the design.
5. Position the design on your t-shirt.
6. Press the design with an iron or heat press to transfer it onto your shirt.
Stand out with cool skull-themed apparel. Check out more designs.
Infuse some personality into your home decor with skull designs. From canvas art to throw pillows, your imagination is the only limit.
Canvases, Throw Pillow Covers, Vinyl or Iron-On (HTV), Cricut Skull SVG designs, Transfer Tape, and your Cricut machine.
1. Pick your skull SVG designs and upload them to the Cricut Design Space.
2. Cut the design using appropriate material settings.
3. Weed out the excess material.
4. Use transfer tape to apply vinyl designs onto canvas. For fabric items like throw pillows, use iron-on material and a heat press.
5. Arrange your designs as you see fit and apply them to your home decor items.
Decorate your home with unique skull designs. Find more inspiration for your next project.
Throwing a themed party? Skull designs can add an edgy vibe to your cups, plates, and banners. Perfect for Halloween or pirate-themed parties!
Disposable Cups, Plates, Banners, Vinyl, Cricut Skull SVG designs, Transfer Tape, and your Cricut machine.
1. Upload your selected skull SVG designs into Cricut Design Space.
2. Cut the designs using vinyl, ensuring to weed out the excess.
3. Use transfer tape to apply the vinyl onto party supplies like cups and plates.
4. For banners, use cardstock and assemble the designs to create a cohesive look.
Make your parties memorable. Get more stylish skull SVG designs for your party supplies.
If your walls are looking a little bare, adding a dramatic skull-themed wall art could be the perfect solution. Create intricate and stunning designs effortlessly.
Vinyl, Adhesive Wood Sheets, Cricut Skull SVG designs, Cricut StandardGrip Mat, and Transfer Tape.
1. Choose your skull designs and upload them to Cricut Design Space.
2. Cut out the designs using various materials such as vinyl and adhesive wood sheets.
3. Weed out the excess material.
4. Use transfer tape to apply the designs to a base material like a wooden plaque or directly onto your wall.
5. Arrange your wall art pieces to create a stunning gallery effect.
Personalize your walls with unique skull art. Explore more designs for your wall art projects.
A little bit daring and exceptionally stylish, skull-themed jewelry can be a fantastic addition to your accessory collection. Use your Cricut to create unique pieces that stand out.
Shrink Plastic, Cricut Skull SVG designs, Weeding Tool, Jump Rings, Earring Hooks, Cord for necklaces, and your Cricut machine.
1. Upload and scale down your skull SVG designs in Cricut Design Space.
2. Place shrink plastic on your Cricut mat and cut out the designs.
3. Punch holes where necessary before shrinking the pieces.
4. Bake the shrink plastic designs according to the instructions.
5. Attach jump rings, earring hooks, and cord to turn your cut-outs into fashionable jewelry items.
Create your custom skull jewelry. Discover more designs to personalize your accessories.
Boost your Cricut crafting game with these skull SVG design projects.
Don't forget to order the materials needed.
For more great Skull SVG designs, visit Unlimited SVG Designs.