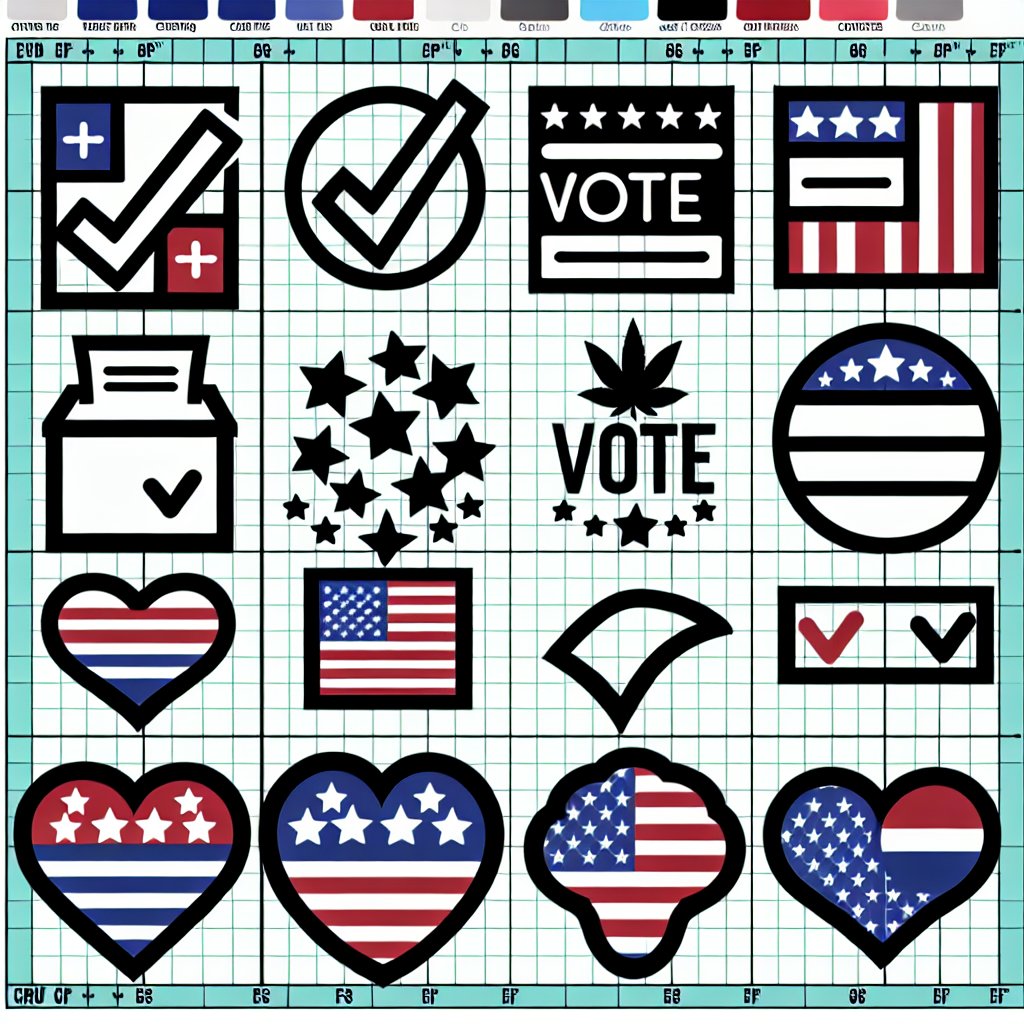
Cricut machines have revolutionized the DIY craft world, making it easier than ever to create customized items with intricate designs. With election season around the corner, let's explore some innovative and practical ways to use Cricut Voting SVG Designs in your crafting projects. These creations will not only showcase your creative flair but also encourage civic participation. Ready to get started?
Before we dive in, be sure to check out the expansive collection of Cricut Voting SVG Designs for inspiration.
Create Personalized Voting T-Shirts
Show your enthusiasm for voting with custom-made t-shirts. These one-of-a-kind shirts are perfect for raising awareness and encouraging others to vote.
Materials Needed
Step-by-Step
- Open Cricut Design Space and upload your selected Voting SVG Design.
- Resize the design as needed to fit your t-shirt.
- Load the Iron-On material (shiny side down) onto the Cricut mat and cut the design.
- Weed out the extra vinyl.
- Position the design onto the t-shirt and use the EasyPress or iron to apply it.
- Peel off the protective layer, and your customized t-shirt is ready to wear!
Design Stylish Tote Bags
Stylish and practical, tote bags are an ideal canvas for Cricut designs. Perfect for election-related events or everyday use, they will let you share your voting passion everywhere you go.
Materials Needed
Step-by-Step
- Upload the Voting SVG Design to Cricut Design Space and resize it according to the tote bag dimensions.
- Cut the Iron-On material using the Cricut machine, ensuring the shiny side is down.
- Weed the excess vinyl from the design.
- Position the design on the tote bag and firmly press it with the EasyPress or iron.
- Let it cool and peel off the protective layer.
Make Voter Awareness Window Clings
Use Cricut Voting SVG Designs to create eye-catching window clings that can be displayed in your home or vehicle windows to promote voter awareness.
Materials Needed
Step-by-Step
- Upload your chosen Voting SVG Design into Cricut Design Space.
- Size it according to your window dimensions and cut it on the window cling material using your Cricut machine.
- Weed out any unnecessary pieces from the design.
- Apply the window cling to any glass surface to spread voter awareness!
Create Voter Encouragement Stickers
Who doesn’t love stickers? Custom stickers are a fun and engaging way to promote voting, and they can be handed out at events or included in mailings.
Materials Needed
Step-by-Step
- Upload the Voting SVG Design to Cricut Design Space and size it to fit your stickers.
- Print the design on the printable sticker paper.
- Load the printed sheet onto the Cricut mat and cut out the stickers.
- Weed out the excess sticker material, and cut them to size if needed.
Design Election Posters
Create professional-looking posters to promote voting in your community. These can be used for events or hung up around town.
Materials Needed
Step-by-Step
- Choose a bold Voting SVG Design and upload it to Cricut Design Space.
- Size the design to fit your poster board or cardstock and cut it.
- Weed the design carefully and use Transfer Tape to place it onto the poster material.
- Smooth out any bubbles and firmly attach it to the poster.
Craft Voting-Themed Masks
Combine fashion with functionality by creating voting-themed face masks. Perfect for wearing during election season!
Materials Needed
Step-by-Step
- Upload your chosen voting SVG Design into Cricut Design Space and adjust the size to fit the masks.
- Place the Iron-On (HTV) onto the Cricut mat and cut it using your Cricut machine.
- Weed out any extra vinyl, position it onto the mask, and press it using an EasyPress or iron.
- Let it cool and peel off the protective layer. Your mask is ready to show off!
Create Voter Registration Cards
Design and cut out voter registration cards that provide all the information someone needs to register to vote. These can be distributed at events or left in community centers.
Materials Needed
Step-by-Step
- Upload a Voting SVG Design and customize it to provide voter registration information.
- Size the design to fit the cards and cut them out on cardstock with your Cricut machine.
- Weed out any excess material and use Transfer Tape to place the designs onto the card.
Design Voter Badges
Create handmade badges for volunteers and event organizers to wear or give out as keepsakes. Badges can add a touch of fun and professionalism to any election event.
Materials Needed
Step-by-Step
- Upload your chosen Voting SVG Design to Cricut Design Space and adjust the size for badges.
- Cut out the designs on chipboard or cardstock using your Cricut machine.
- Weed out any extra material.
- Attach badge pins to the back of the cut-out designs using a hot glue gun or strong adhesive.
Design DIY Election Banners
Banners are great for decorating election events, rallies, or even your home. Create long-lasting, inspiring banners that encourage everyone to vote.
Materials Needed
Step-by-Step
- Pick a Voting SVG Design and upload it to Cricut Design Space, then resize as necessary.
- Cut the design on your preferred material (fabric or vinyl) using the Cricut.
- Weed out the extra material and position the design on the banner fabric.
- Use Transfer Tape to apply the design, smoothing it out to avoid bubbles.
- Attach grommets to the corners if you want to hang the banner easily.
There you have it, nine fantastic ideas for using Cricut Voting SVG Designs to create real-life items that inspire and engage your community in the voting process. Whether it's a t-shirt, a tote bag, or a decorative banner, these projects are sure to make a statement. For more design inspiration, visit Unlimited SVG Designs or explore their full collection.
Need materials for your next Cricut project? Order the materials needed to get started on your next crafting adventure!


