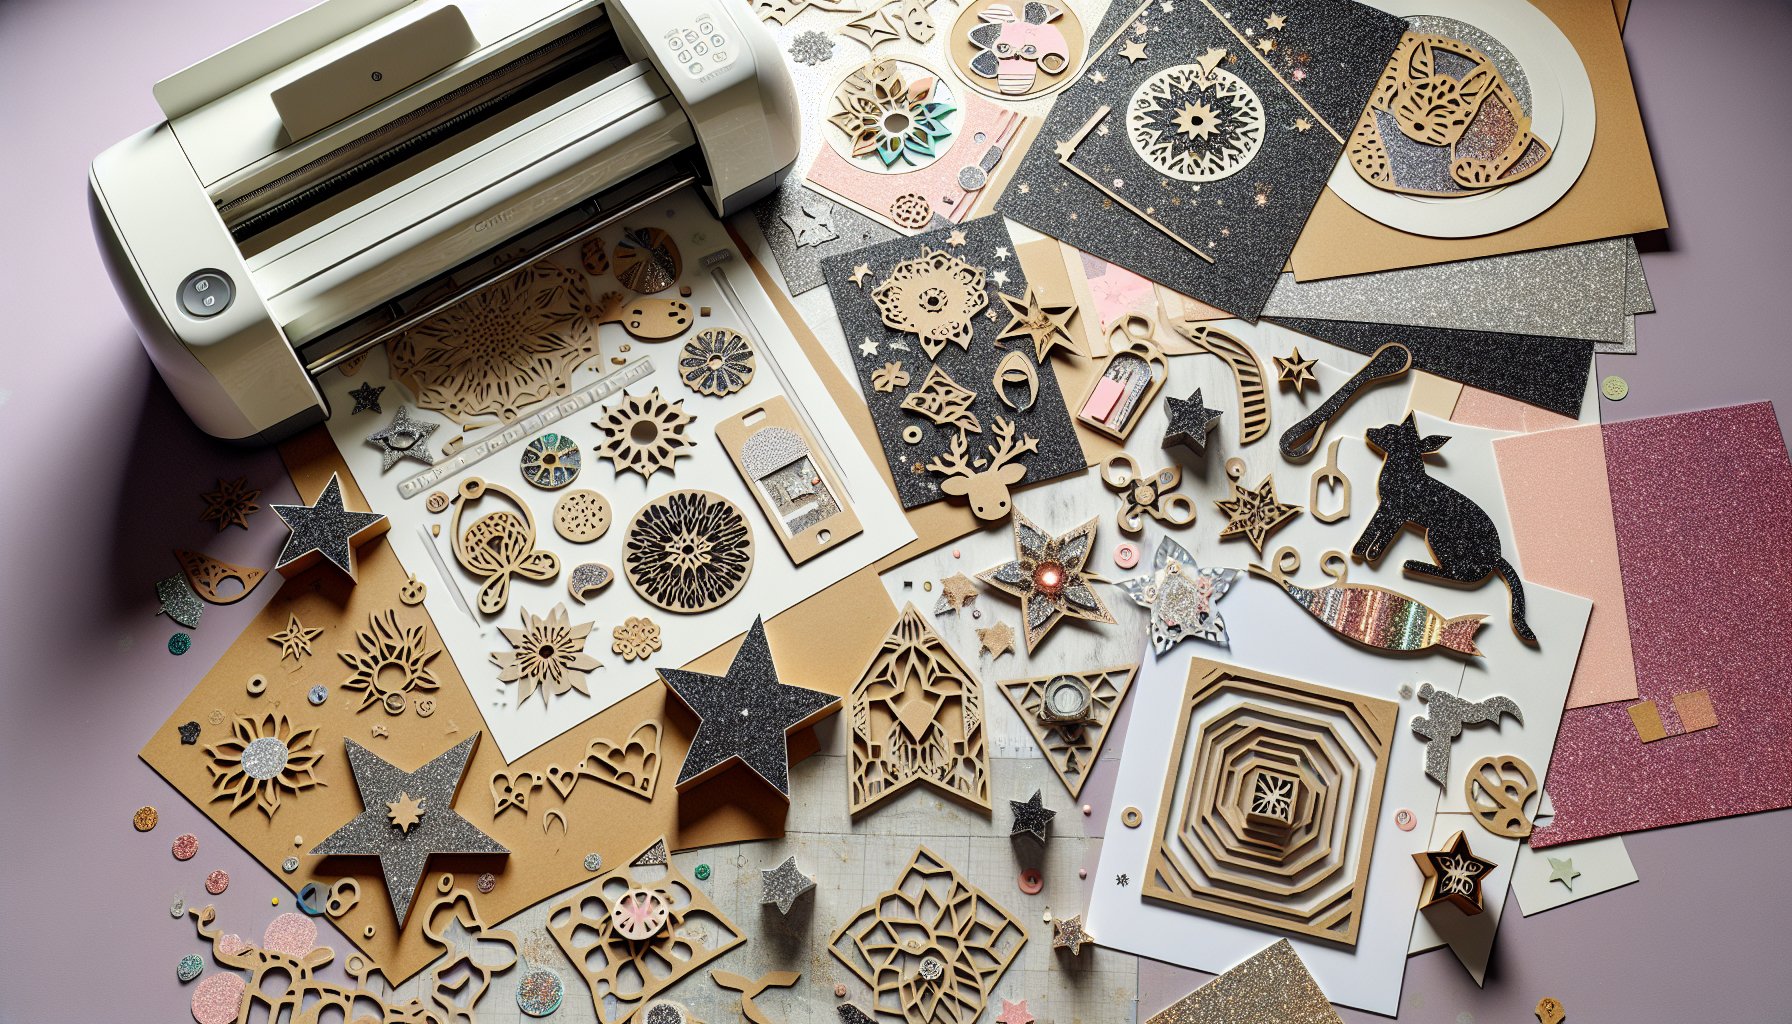
Why You Should Absolutely Love Adhesive-Backed Glitter Cardstock for Cricut Crafting
In the vibrant and ever-evolving world of Cricut crafting, nothing stands out quite like Adhesive-Backed Glitter Cardstock. This material is a game-changer for crafters who relish a bit of extra sparkle in their projects. It's not just the glitter that makes it worth your while. The convenience of the adhesive backing means that you can skip the mess and fuss of glue, allowing you to concentrate solely on your creativity.
If you’re an ardent DIY crafter or simply someone who loves creating memorable, personalized items, Adhesive-Backed Glitter Cardstock should be in your toolkit. It’s an invaluable asset that combines ease of use with aesthetic appeal, making it perfect for various applications from home décor to party accessories.
Ways to Use Adhesive-Backed Glitter Cardstock in Your Cricut DIY Projects
1. Sparkling Wall Art
Bring some bling to your walls by using Adhesive-Backed Glitter Cardstock to create stunning wall art. Whether it’s a phrase that inspires you or intricate shapes and patterns, your Cricut machine can cut your designs to perfection. Once cut, just peel and stick! It’s the perfect way to add a pop of glitter to any room without hassle.
2. Personalized Party Decor
Why settle for ordinary party decorations when you can have extraordinary? Use Adhesive-Backed Glitter Cardstock to make custom banners, cake toppers, and table centerpieces. Your guests will be amazed by the attention to detail and the added touch of sparkle that sets your party apart from the usual fare.
Take your gift-giving to the next level by adding a personal and flashy touch. Craft unique gift tags and cards using Adhesive-Backed Glitter Cardstock. Your Cricut can cut out intricate designs or letters to make each tag and card a keepsake in itself. It's an easy way to make even the simplest of gifts feel incredibly special.
4. Customized Name Labels
Stay organized in style by creating custom name labels for everything—from your craft supplies to your kids' school items. These labels are not only functional but add a touch of glam that ordinary labels lack. The adhesive backing ensures they'll stay put, saving you the trouble of dealing with messy glues.
5. Unique Scrapbooking Embellishments
If scrapbooking is your jam, Adhesive-Backed Glitter Cardstock can add that extra flair to every page. Use it to create dazzling borders, frames, and decorative cutouts. The adhesive backing makes it a cinch to add these embellishments, letting you focus on capturing your memories beautifully.
Step-by-Step Guide to Using Adhesive-Backed Glitter Cardstock with Your Cricut Machine
Materials You'll Need
Before diving into your projects, make sure you have all the necessary materials ready. You can order Cricut Adhesive-Backed Glitter Cardstock materials needed if you don't have them on hand.
Step 1: Setting Up Your Design in Cricut Design Space
Cricut Design Space is your hub for all things creative. Log into your Design Space account and start a new project. Upload your SVG design or select one from the Cricut Design Space library. Adjust the size and placement according to your project requirements.
Step 2: Preparing Your Material
Place your Adhesive-Backed Glitter Cardstock on a StandardGrip Mat with the glitter side up. Make sure it's properly aligned and smoothed out to prevent any bubbles or creases that could interfere with the cutting process.
Step 3: Cutting
Select “Glitter Cardstock” from the material settings in Cricut Design Space. Load your mat into the Cricut machine and press the cut button. Your machine will do all the hard work for you, creating precise cuts as per your design.
Step 4: Weeding the Excess Material
Once your Cricut has finished cutting, peel away the excess material carefully. Ensure you are left with just your chosen design. Tools like the Cricut weeder can be really helpful for removing small, intricate pieces.
Step 5: Applying Your Design
With the adhesive backing, applying your design is a breeze. Peel off the backing and carefully stick your design onto your chosen surface. Press firmly to ensure a strong bond.
There you have it! A beautiful, sparkling project that was both fun to make and easy to apply. Experiment with different designs and surfaces to see just how versatile your Adhesive-Backed Glitter Cardstock can be. To help you get started with some designs, check out the versatile options available on Unlimited SVG Designs.
Ready to create your next glittering masterpiece? Make sure you're stocked up on the necessary materials! Order Cricut Adhesive-Backed Glitter Cardstock materials needed and let your creativity shine.


