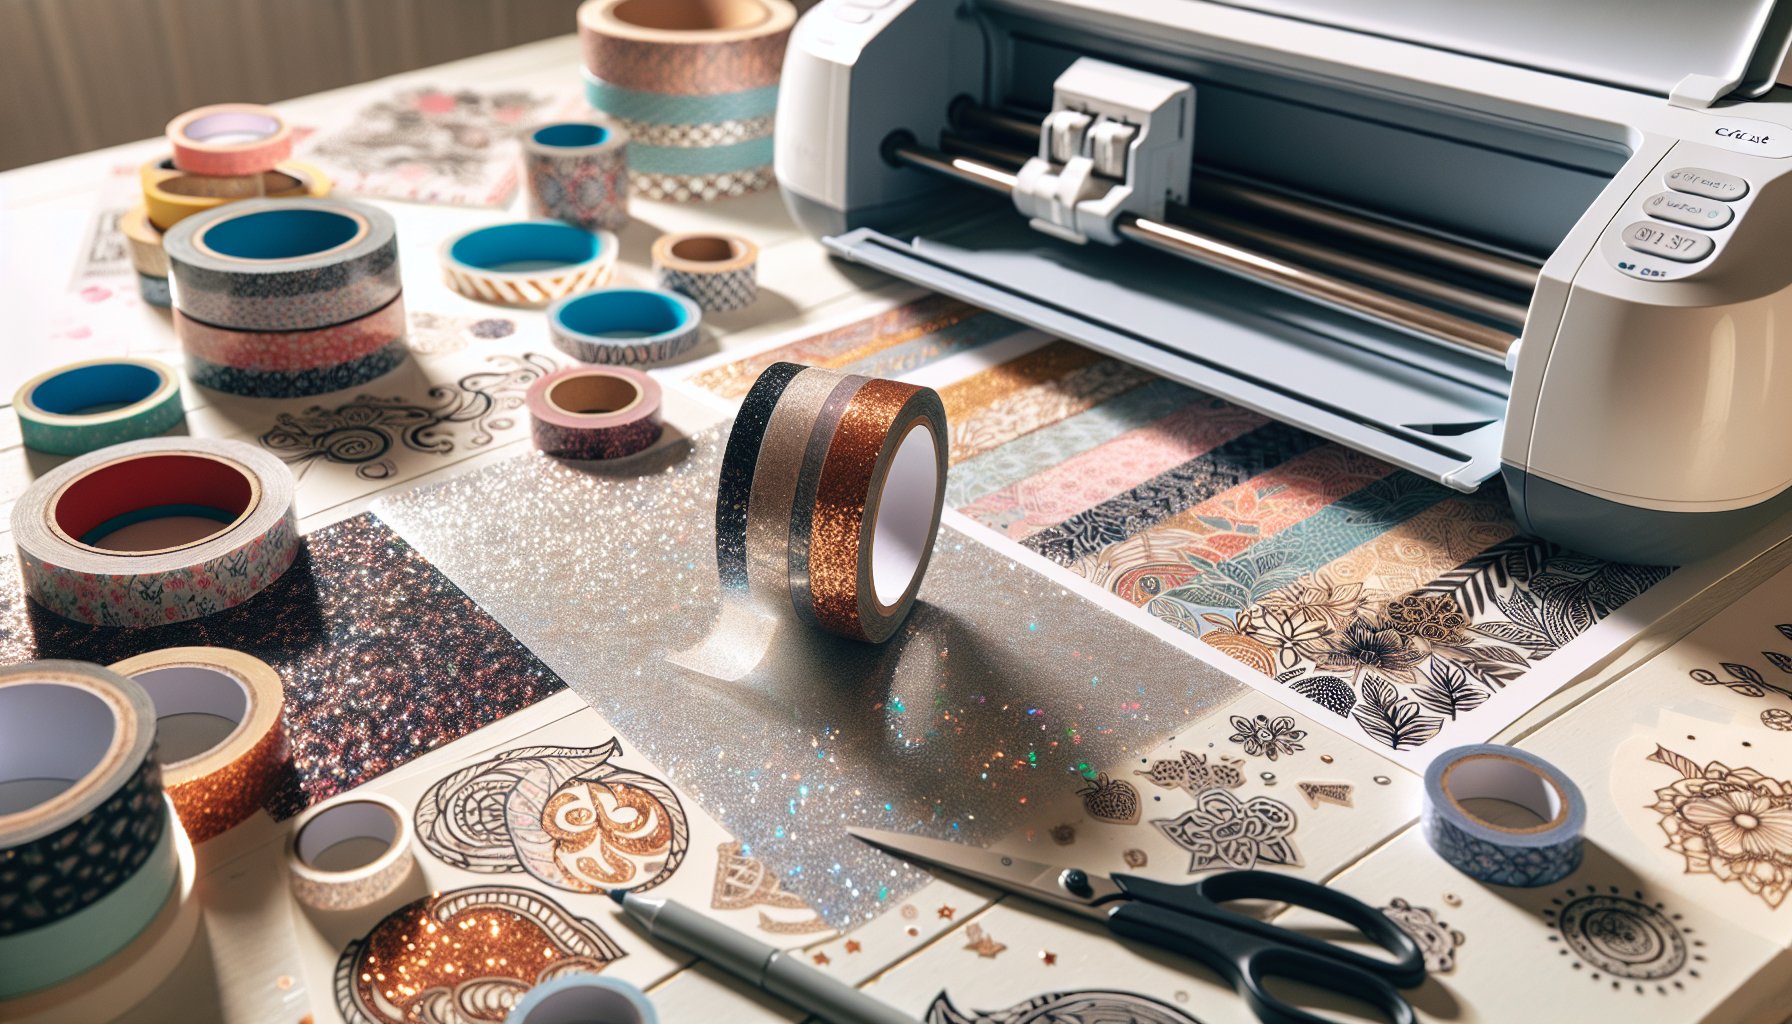
Why Choose Adhesive-Backed Glitter Heat Transfer Vinyl for Cricut Crafting?
If you're passionate about crafting, then you understand the allure of glitter. But let's be honest—glitter can be messy. Here’s where Adhesive-Backed Glitter Heat Transfer Vinyl (HTV) comes to the rescue. This magical material combines sparkle with versatility, making it easier than ever to elevate your DIY projects. Whether you’re an experienced Cricut user or a newbie, this vinyl offers a plethora of benefits.
Adhesive-Backed Glitter HTV is a game-changer for several reasons. Firstly, its adhesive backing ensures that your designs stick firmly to any fabric surface, guaranteeing durability and longevity. Secondly, the glitter doesn’t shed, so you won’t find specks all over your home. Lastly, it's compatible with a variety of materials, from cotton T-shirts to polyester bags. Ready to let your creativity sparkle? Let’s dive into some inspiring DIY ideas!
DIY Crafting Ideas Using Adhesive-Backed Glitter Heat Transfer Vinyl
1. Personalized Apparel
Why settle for store-bought when you can create your own? Use Adhesive-Backed Glitter HTV to make personalized T-shirts, hoodies, or baby onesies. Add names, quotes, or even custom designs to make them one-of-a-kind. This is perfect for gifts, family reunions, or just expressing your style.
2. Glamorous Tote Bags
Reusable tote bags are more popular than ever, and you can transform a plain bag into a fashion statement. Add glittery monograms, funky patterns, or motivational quotes. Your reusable bag will become an eye-catching accessory rather than just a functional item.
3. Fabulous Throw Pillows
Jazz up your living space with some sparkling throw pillows. Use the glitter HTV to cut out intricate patterns or shapes and heat-transfer them onto pillow covers. Imagine your couch adorned with glittery stars, hearts, or even your favorite quotes—instant glam!
4. Customized Aprons
For the chefs and bakers in your life (or yourself!), a custom apron can make kitchen time even more enjoyable. Use reflective glitter printable vinyl SVG designs to create whimsical or elegant designs that will withstand multiple washes without losing their sparkle.
5. Unique Wall Art
Wall art doesn't always have to be on canvases; decorate fabric wall hangings or banners with your Cricut. Use the adhesive-backed glitter HTV to create vibrant, shimmering art pieces that will instantly brighten any room.
6. Sports Gear
Show some team spirit by customizing sports jerseys, gym bags, or headbands. The glitter HTV will add a dash of glamour while keeping the items functional. Create team names, logos, or motivating slogans that will shine as bright as the team’s ambitions.
7. Birthday and Holiday Decorations
From birthday banners to Christmas stockings, add a bit of sparkle to your celebrations. The glitter vinyl is perfect for creating festive and eye-catching decorations that will make any event extra special.
Step-by-Step Guide to Using Adhesive-Backed Glitter Heat Transfer Vinyl with Cricut
Ready to bring your glittery ideas to life? Here’s a step-by-step guide to help you get started.
Materials Needed
- Cricut Machine
- Adhesive-Backed Glitter Heat Transfer Vinyl
- Weeding tool
- Teflon sheet or parchment paper
- Heat press or household iron
- Item to decorate (T-shirt, tote bag, etc.)
Instructions
Step 1: Design Your Project in Cricut Design Space
Open Cricut Design Space and create your design. Reflective glitter printable vinyl SVG designs can make this process even easier—find some lovely designs at Unlimited SVG Designs. Resize and adjust the design until it fits your project perfectly.
Step 2: Cut the Vinyl
Place the adhesive-backed glitter HTV shiny side down on your cutting mat. Select "Glitter Iron-On" from the material settings in Cricut Design Space. Load your mat, and press the "Go" button to start cutting.
Step 3: Weed the Design
Once cutting is complete, use a weeding tool to remove the excess vinyl carefully. This step requires patience but is crucial for a clean, professional look.
Step 4: Apply Heat
Preheat your heat press or iron. Position your weeded design on your chosen item, adhesive side down. Cover with a Teflon sheet or parchment paper to protect the design. Press with firm pressure at around 300°F for 15-30 seconds. If using an iron, apply steady pressure—do not move it around.
Step 5: Peel and Reveal
Let the design cool for a few seconds, then carefully peel away the carrier sheet. If parts of the design lift, press again with your heat press or iron.
And there you have it! Your sparkling, custom creation is ready to dazzle. For those eager to get started, you can Order Cricut Adhesive-Backed Glitter Heat Transfer Vinyl Materials Needed right now. Happy crafting!


