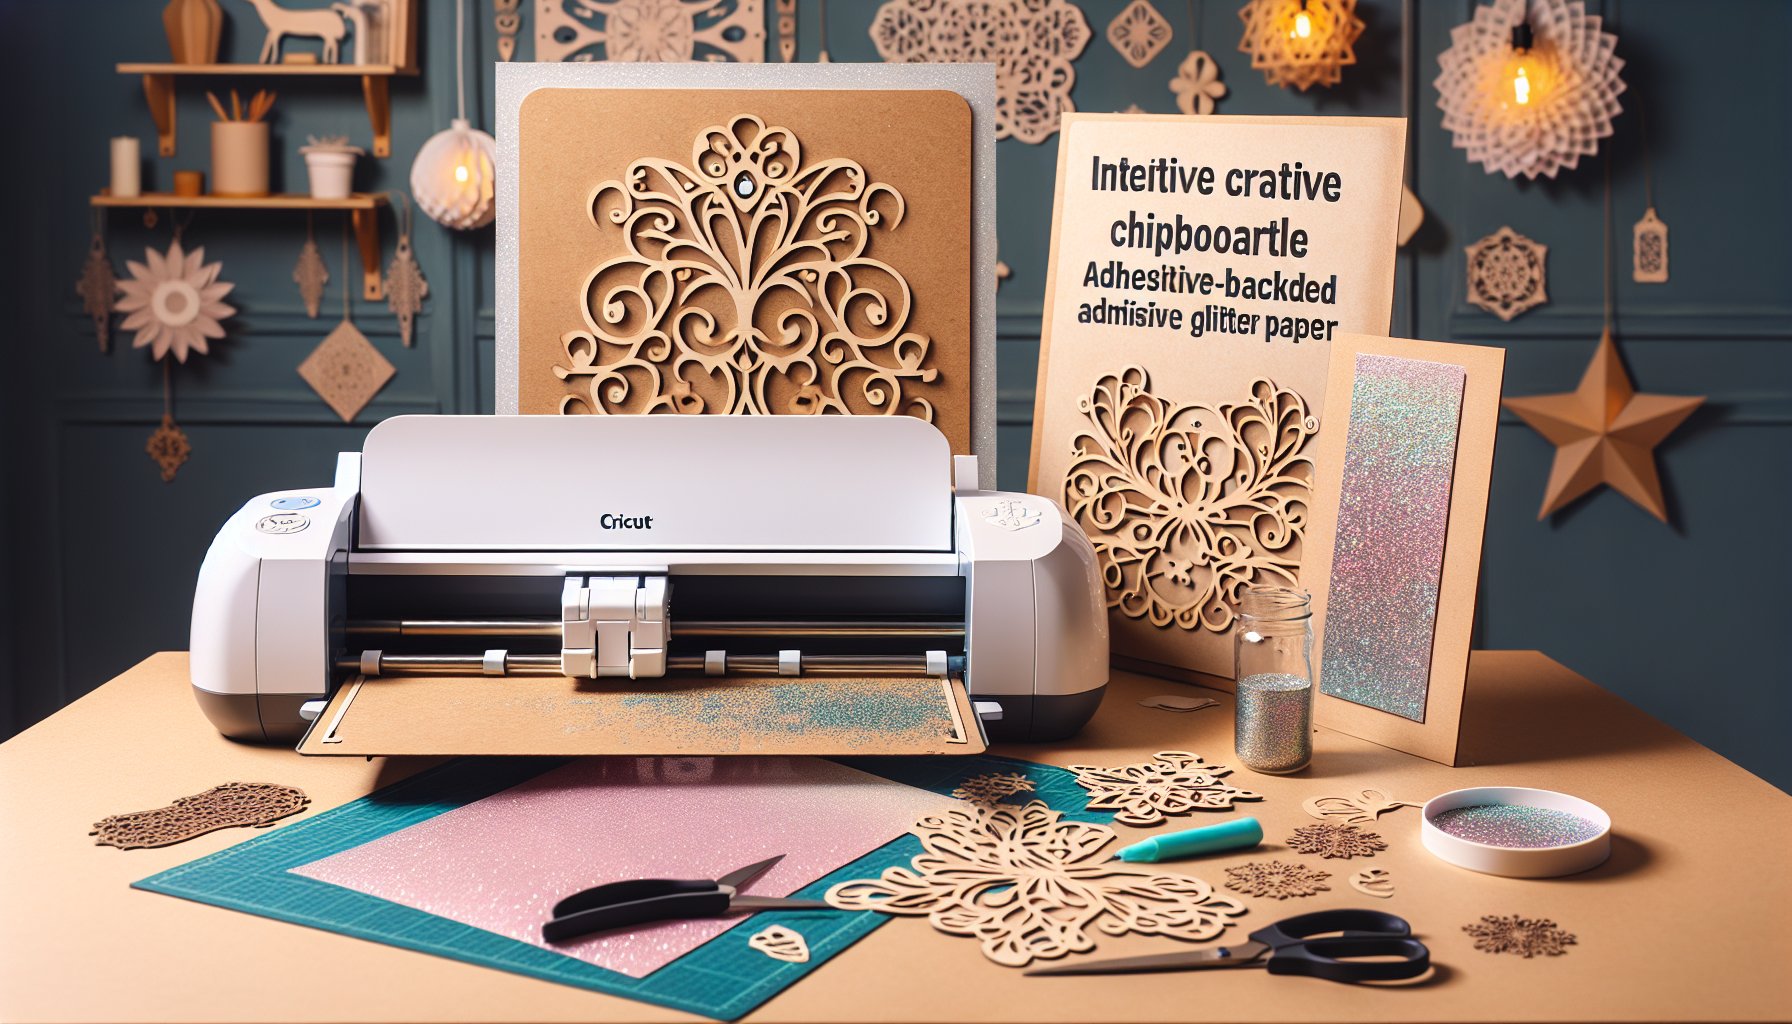
Why 'Adhesive-Backed Glitter Paper' is Perfect for Cricut Crafting
Let's face it, adding a bit of glitter can transform anything into a dazzling piece of art. Imagine achieving a glittery finish without the fuss and mess of traditional glitter. This is where Cricut Adhesive-Backed Glitter Paper comes into play. Not only does it simplify your crafting process, but it also adds a touch of sparkle and sophistication to your projects. With its peel-and-stick convenience, it's a game-changer for DIY enthusiasts who want to bring their creative visions to life.
Crafting has never been this easy and fun. The paper is durable, easy to cut with your Cricut machine, and bonds seamlessly to a variety of surfaces. Say goodbye to glue mishaps and glitter spills. With Adhesive-Backed Glitter Paper, you can ensure that your projects are flawless and dazzling every single time.
Creative Ways to Use Adhesive-Backed Glitter Paper in Your Cricut DIY Projects
1. Custom Greeting Cards
Why settle for store-bought cards when you can create your own glittery masterpieces? Using Cricut Design Space, you can create intricate designs and cut them out from your Adhesive-Backed Glitter Paper. Personalize birthday, anniversary, or holiday cards by adding the glittery touches that friends and family will cherish.
2. Sparkly Wall Decor
Brighten up your living space with custom wall decals made from Adhesive-Backed Glitter Paper. Create inspirational quotes, friendly animals, or abstract designs to add a sparkling touch to your walls. These easy-to-apply and remove decals can instantly transform any room without permanent alterations.
Add a touch of elegance to your presents with personalized gift tags that shine. Cut out different shapes like stars, hearts, or even the recipient's initials. These glittery tags are not only practical but also add an extra layer of thoughtfulness to your gifts.
4. Customized Phone Cases
Make your phone case stand out from the crowd by designing and cutting out personalized glitter stickers. Adorn your phone with your name, motivational quotes, or cute icons. The Adhesive-Backed Glitter Paper ensures that your designs stick and stay put, making your phone case a unique piece of art.
5. Fashionable Clothing Labels
Who says glitter is only for paper? Use Adhesive-Backed Glitter Paper to create unique labels for your clothing. While the material may not withstand regular washing, it's perfect for items like scarves, hats, or jackets that don't require frequent laundering. Add your personal logo or fun designs to elevate your style game.
Step by Step Guide to Using Adhesive-Backed Glitter Paper in Your Cricut Machine
Ready to dive into your sparkly crafting adventure? Here’s a comprehensive step-by-step guide on how to use Adhesive-Backed Glitter Paper in your Cricut Machine.
Materials Needed:
- Cricut Machine
- Adhesive-Backed Glitter Paper (Order Cricut Adhesive-Backed Glitter Paper Materials Needed)
- Cricut StandardGrip Mat
- Weeding Tool
- Transfer Tape
Step 1: Designing in Cricut Design Space
Open Cricut Design Space, and start by creating or uploading your desired design. Make sure to size your design to fit your material. Once done, select 'Make It' to proceed.
Step 2: Preparing Your Mat
Place the Adhesive-Backed Glitter Paper onto the StandardGrip Mat, with the glitter side facing up. Smooth it out to ensure there are no bubbles or wrinkles.
Step 3: Setting Your Machine
Load your mat into the Cricut Machine. In Cricut Design Space, choose the material setting that corresponds to glitter paper. Adjust the blade depth if necessary to ensure a clean cut.
Step 4: Cutting Your Design
Press 'Go' and let your Cricut Machine do the magic. Once the cutting is complete, unload the mat and carefully remove the glitter paper.
Step 5: Weeding
Use a weeding tool to carefully remove excess material from your design. Be gentle to avoid tearing any intricate parts of your design.
Step 6: Applying Your Design
If you're transferring your design onto another surface, use transfer tape to pick up the design from the backing paper. Carefully place it on your desired surface and press down firmly. Slowly peel away the transfer tape and voila! Your glittery masterpiece is complete.
So, get creative, and start adding brilliance to your world with Adhesive-Backed Glitter Paper. For more crafting materials, Order Cricut Adhesive-Backed Glitter Paper Materials Needed and let your imagination run wild.


