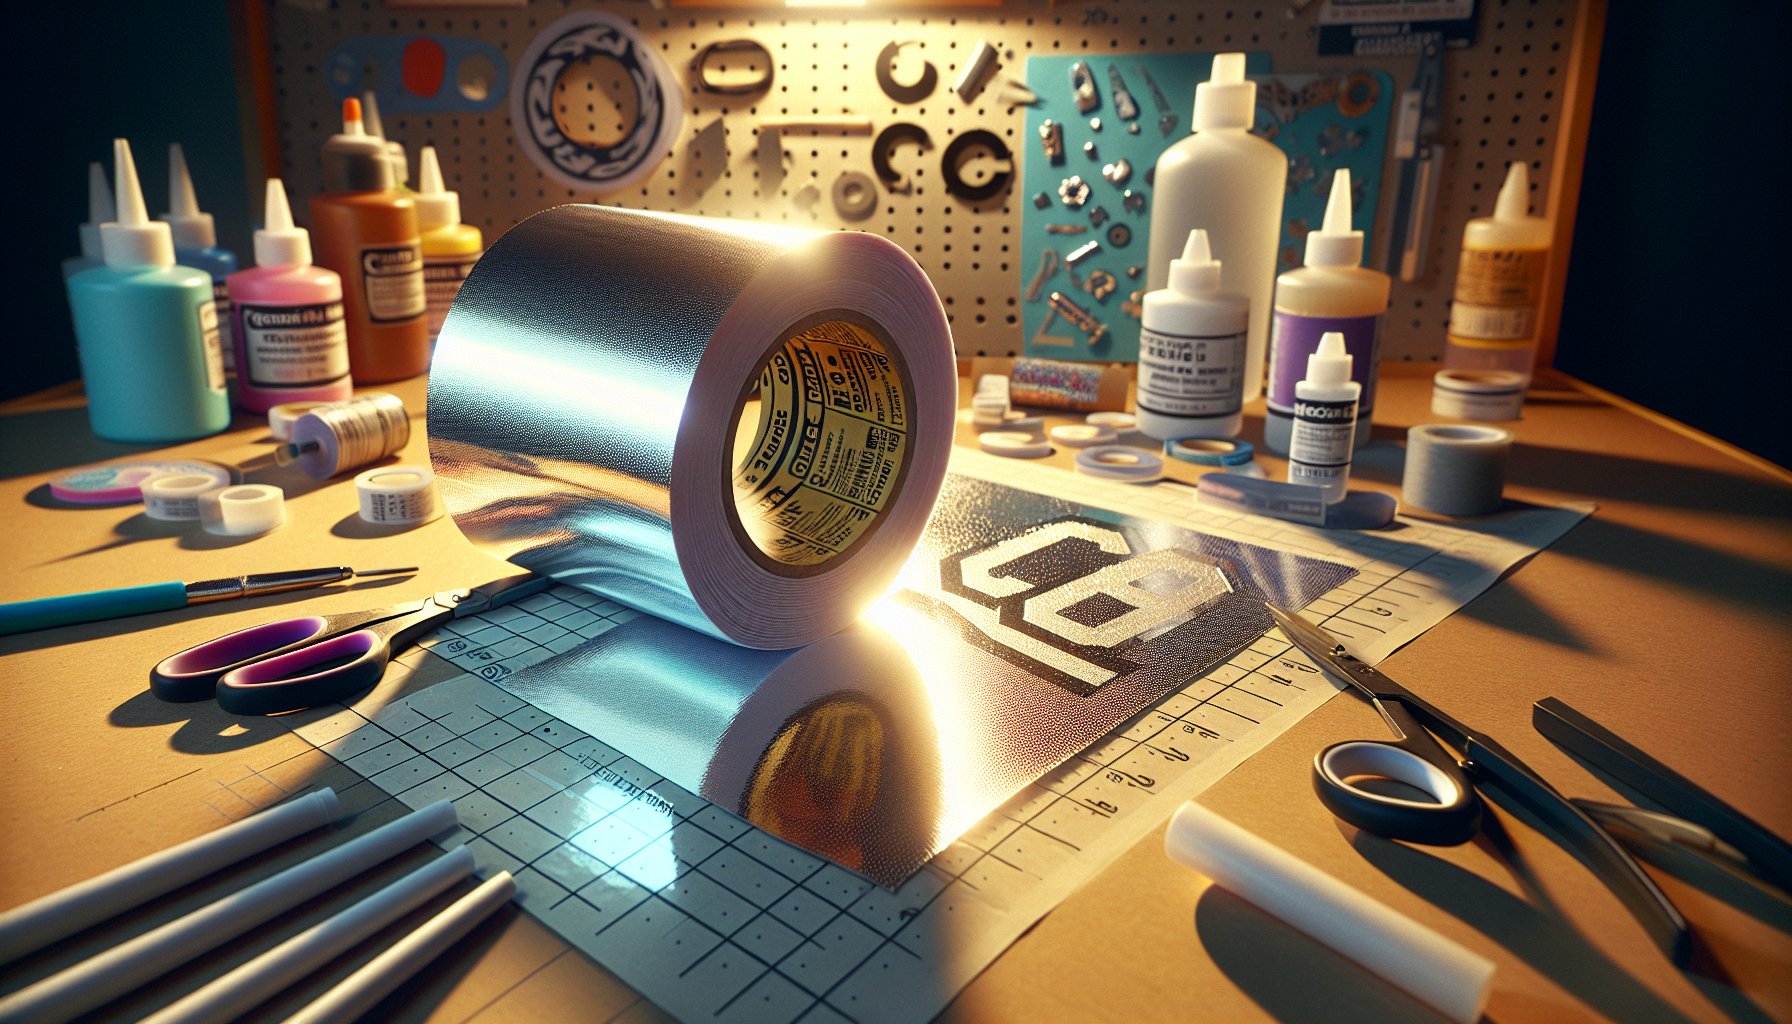
Why Choose Adhesive-Backed Reflective Fabric for Cricut Crafting?
When it comes to Cricut crafting, finding the right material to bring your creative visions to life is crucial. Adhesive-Backed Reflective Fabric stands out for several reasons, making it a favorite among DIY crafters. Not only does it enhance visibility and safety, especially in low-light situations, but it also adds a unique flair to any project. Reflective fabric is both practical and stylish, providing a blend of function and fashion that brings your designs to life.
This material is easy to cut, weed, and apply, making it perfect for both beginners and seasoned Cricut enthusiasts. It adheres effortlessly to a variety of surfaces, providing long-lasting durability. Plus, the reflective quality ensures that your creations will stand out day or night, adding an element of safety to your style.
Creative Ideas for Using Adhesive-Backed Reflective Fabric in Your Cricut Projects
1. Custom Clothing for Nighttime Activities
One of the most popular uses for Adhesive-Backed Reflective Fabric is on apparel designed for nighttime activities. Whether you’re a runner, cyclist, or just love walking your dog after sundown, reflective fabric can help ensure you’re seen by drivers. Use your Cricut to cut out custom designs like stars, stripes, or your name, and adhere them to jackets, hoodies, running gear, or even your pet’s harness.
2. Personalized Backpacks and Bags
Enhance your child’s backpack or your own bag with reflective designs. This will not only add a layer of safety but also give a personalized touch that makes their gear stand out. Add fun shapes, initials, or even favorite cartoons using Reflective Glitter Vinyl SVG Designs from Unlimited SVG Designs.
3. Holiday Decorations
Make your holiday decorations shine brighter by incorporating reflective fabric. Create unique Christmas tree ornaments, Halloween costumes, or even glowing Easter eggs. Your Cricut machine can easily handle intricate designs, making your holiday decorations both festive and functional.
4. Bike and Scooter Decals
Safety and style go hand-in-hand when you use reflective fabric to create custom decals for bikes and scooters. Cut out vibrant shapes or your favorite quotes and adhere them to your ride. This way, you’ll remain visible during early morning commutes or evening rides.
5. Reflective Home Décor
Who says reflective fabric is only for wearables? Bring some light into your home décor with this versatile material. Create reflective wall art, pillow covers, or lampshade accents. The reflective elements will catch and throw light in delightful ways, adding a unique touch to any room.
6. Kids' Clothing and Accessories
Add fun, reflective elements to your children’s clothing and accessories for an added layer of safety. Cut out fun shapes like animals, stars, or their favorite characters and apply them to jackets, shoes, and hats. Your little ones will love the added sparkle, and you’ll appreciate the extra visibility.
Step-by-Step Guide to Using Adhesive-Backed Reflective Fabric in Your Cricut Machine
Ready to get started with Adhesive-Backed Reflective Fabric? Follow this step-by-step guide for seamless crafting:
Step 1: Gather Your Supplies
First, ensure you have all the materials needed:
- Cricut Machine
- Adhesive-Backed Reflective Fabric
- Weeding tools
- Transfer tape
- Design files (check out Unlimited SVG Designs for some great options)
You can Order Cricut Adhesive-Backed Reflective Fabric Materials Needed online if you haven't already.
Step 2: Design in Cricut Design Space
Open Cricut Design Space and start a new project. Upload your SVG design or create your own using the tools within Design Space. Adjust the size and placement to fit your project.
Step 3: Prepare Your Matte and Fabric
Place the Adhesive-Backed Reflective Fabric on your cutting mat, reflective side up. Ensure it’s smooth and firmly adhered to the mat to prevent any slipping during the cutting process.
Step 4: Cut Your Design
Load your mat into the Cricut machine and select the appropriate material setting in Design Space. Begin cutting your design. After the cutting is complete, carefully remove the mat and weed out the excess material from your design.
Step 5: Apply Your Design
Cut a piece of transfer tape and apply it over your weeded design, making sure to smooth out any bubbles. Carefully peel away the backing of the reflective fabric, leaving the design on the transfer tape. Position the design on your intended surface and press down firmly. Slowly peel away the transfer tape, and voila!
Final Thoughts
Adhesive-Backed Reflective Fabric opens up a world of possibilities for Cricut crafters. From enhancing safety in apparel and accessories to adding a shimmering touch to home décor, there’s no limit to what you can create. Ready to get started? Order Cricut Adhesive-Backed Reflective Fabric Materials Needed today and let your creativity shine!


