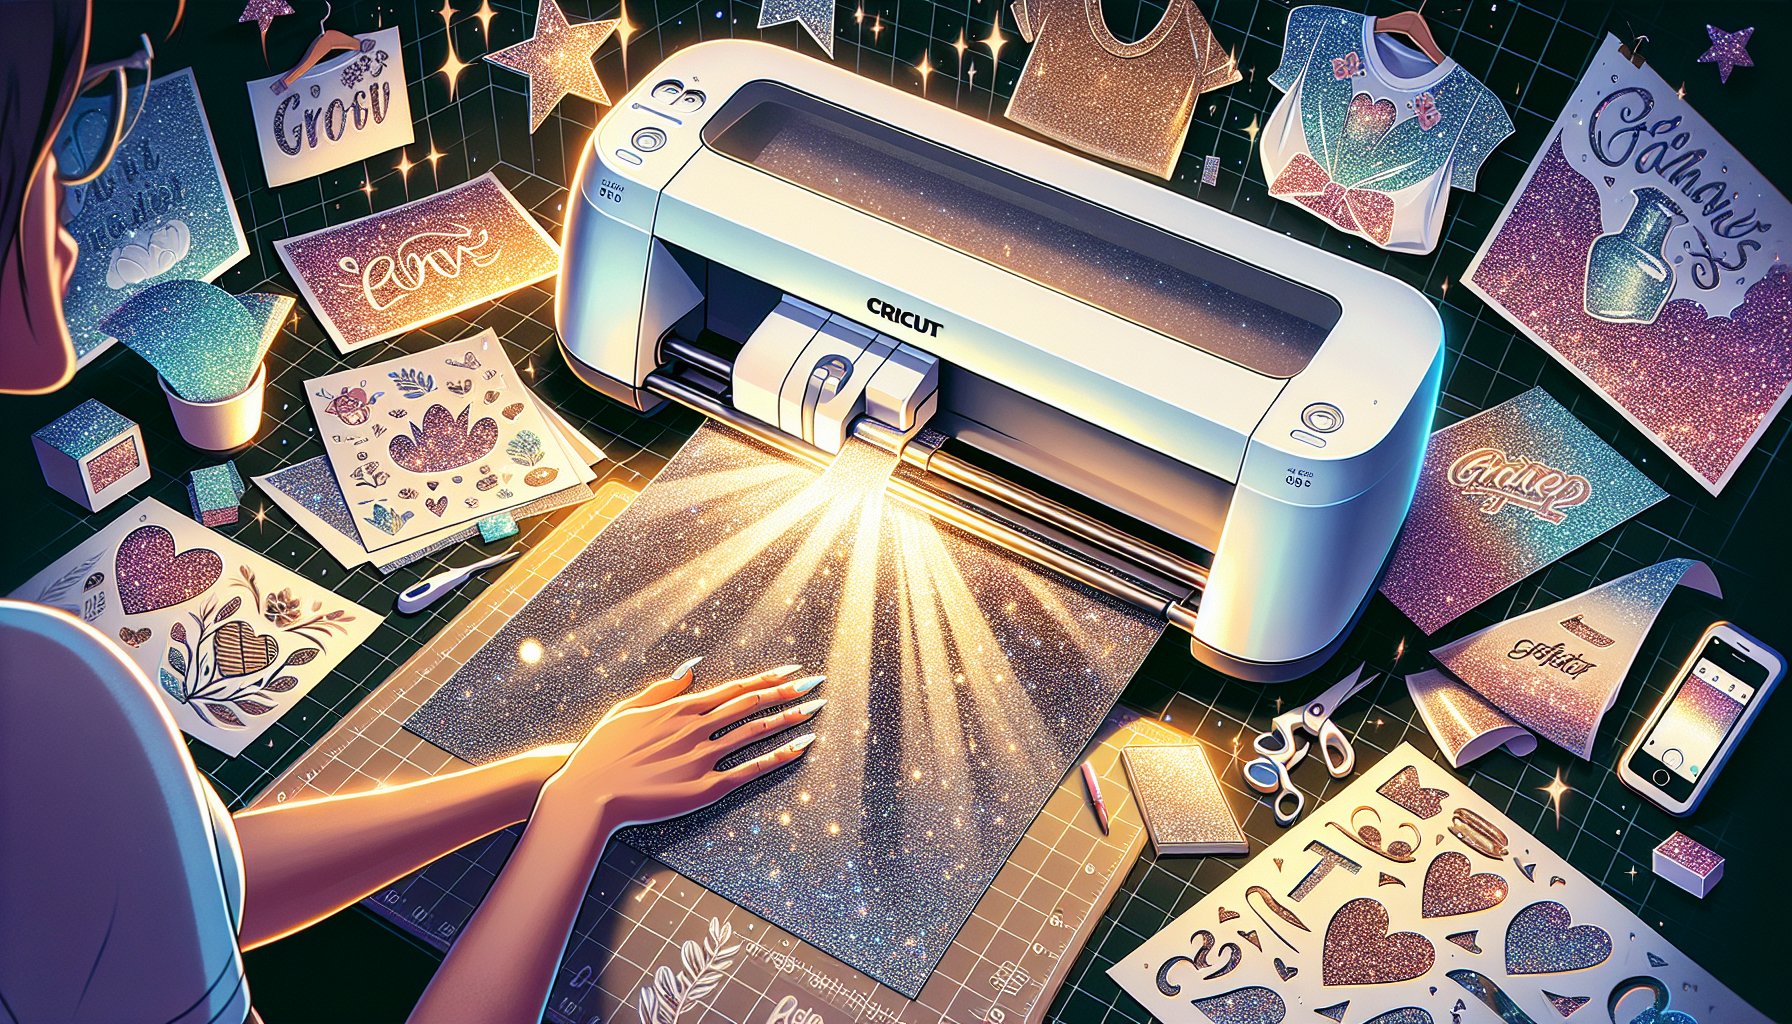
Why Choose Glitter Heat Transfer Vinyl for Cricut Crafting?
For Cricut DIY crafters, the shimmering appeal of Glitter Heat Transfer Vinyl (HTV) is simply irresistible. Not only does it add that extra sparkle to your projects, but its versatility and ease of use make it a go-to material for a variety of craft projects. Whether you're personalizing gifts, updating your wardrobe, or even decorating your home, Glitter HTV effortlessly elevates the aesthetic of any item.
Glitter HTV stands out because it combines the best of both worlds: practicality and glamour. It’s durable, easy to weed, and adheres smoothly to a variety of fabrics, making it ideal for both beginners and seasoned crafters. Plus, with an endless array of colors and finishes available, your creative possibilities are limitless.
Fantastic Ideas for Using Glitter Heat Transfer Vinyl
1. Personalized Apparel
Clothing items are the quintessential canvas for Glitter Heat Transfer Vinyl. Imagine creating custom T-shirts for a bridal party, matching family reunion shirts, or an eye-catching graphic for your own wardrobe. Glitter HTV can effortlessly transform a plain shirt into a statement piece, perfect for any event or personal style.
2. Sparkling Home Decor
Turn your living space into a glittering haven with customized home decor items. Create and apply glittery designs on throw pillows, table runners, or canvases to add a unique shimmer to your home. These simple tweaks can make your home cozy and visually stunning.
3. Custom Tote Bags
Reusable tote bags are both practical and eco-friendly. Adding a glittery design or inspirational quote to them can turn a mundane bag into a stylish accessory. Personalizing tote bags with Glitter Heat Transfer Vinyl not only makes them functional but also fashion-forward.
4. Party Decorations
Make your parties unforgettable with customized glitter HTV decorations. From festive banners and tablecloths to napkins and party favors, adding a touch of sparkle can make any celebration more special. Think birthday parties, bridal showers, or even holiday gatherings—your glittery creations will surely impress the guests.
5. Unique Gift Ideas
Gifts can feel much more meaningful when they are personalized. Think custom glittery aprons for the chefs in your life, personalized gym bags for fitness enthusiasts, or even glittery phone cases. The thought and effort you put into creating these items will show, leaving a lasting impression on the recipient.
Step-by-Step Guide to Using Glitter Heat Transfer Vinyl with Your Cricut Machine
Materials You Will Need:
- Cricut Glitter Heat Transfer Vinyl
- Cricut Machine (Explore Air, Maker, etc.)
- Weeding Tools
- Heat Press or Iron
- Parchment Paper or Teflon Sheet
- Cricut Design Space software
- Your chosen fabric material (T-shirt, tote bag, etc.)
Step 1: Create Your Design in Cricut Design Space
Begin by launching Cricut Design Space, the software used to customize and prepare your designs for cutting. Upload your SVG design or create your own using the tools available. Make sure your design is set to Mirror Image (flipped horizontally) before cutting because HTV is applied upside-down.
Step 2: Prepare the Vinyl
Place the Glitter HTV shiny side down (this is the carrier sheet side) onto your cutting mat. Load the mat into your Cricut machine and proceed to cut your design. Choose the appropriate settings for Glitter HTV in the Design Space to ensure a clean cut.
Step 3: Weed the Excess Vinyl
Once the design is cut, use weeding tools to remove the excess vinyl, leaving only your glittery design on the carrier sheet.
Step 4: Apply the Design
Position your weeded design onto your fabric, with the carrier sheet facing up. Cover it with parchment paper or a Teflon sheet to protect your fabric and vinyl during the heat pressing process.
Step 5: Heat Press or Iron
If you’re using a heat press, set it according to the Glitter HTV’s recommended time and temperature. Generally, it’s around 320°F for 15-20 seconds. If you’re using an iron, set it to the cotton setting without steam. Apply firm pressure and heat evenly over the design for around 20-25 seconds.
Step 6: Peel and Reveal
Once cooled, carefully peel away the carrier sheet and marvel at your glittery masterpiece! If the vinyl hasn’t fully adhered, press again for a few seconds. And there you go—another unique creation made possible with Glitter Heat Transfer Vinyl!
For more inspiring ideas and SVG designs, make sure to visit Unlimited SVG Designs and keep unleashing your creativity!


