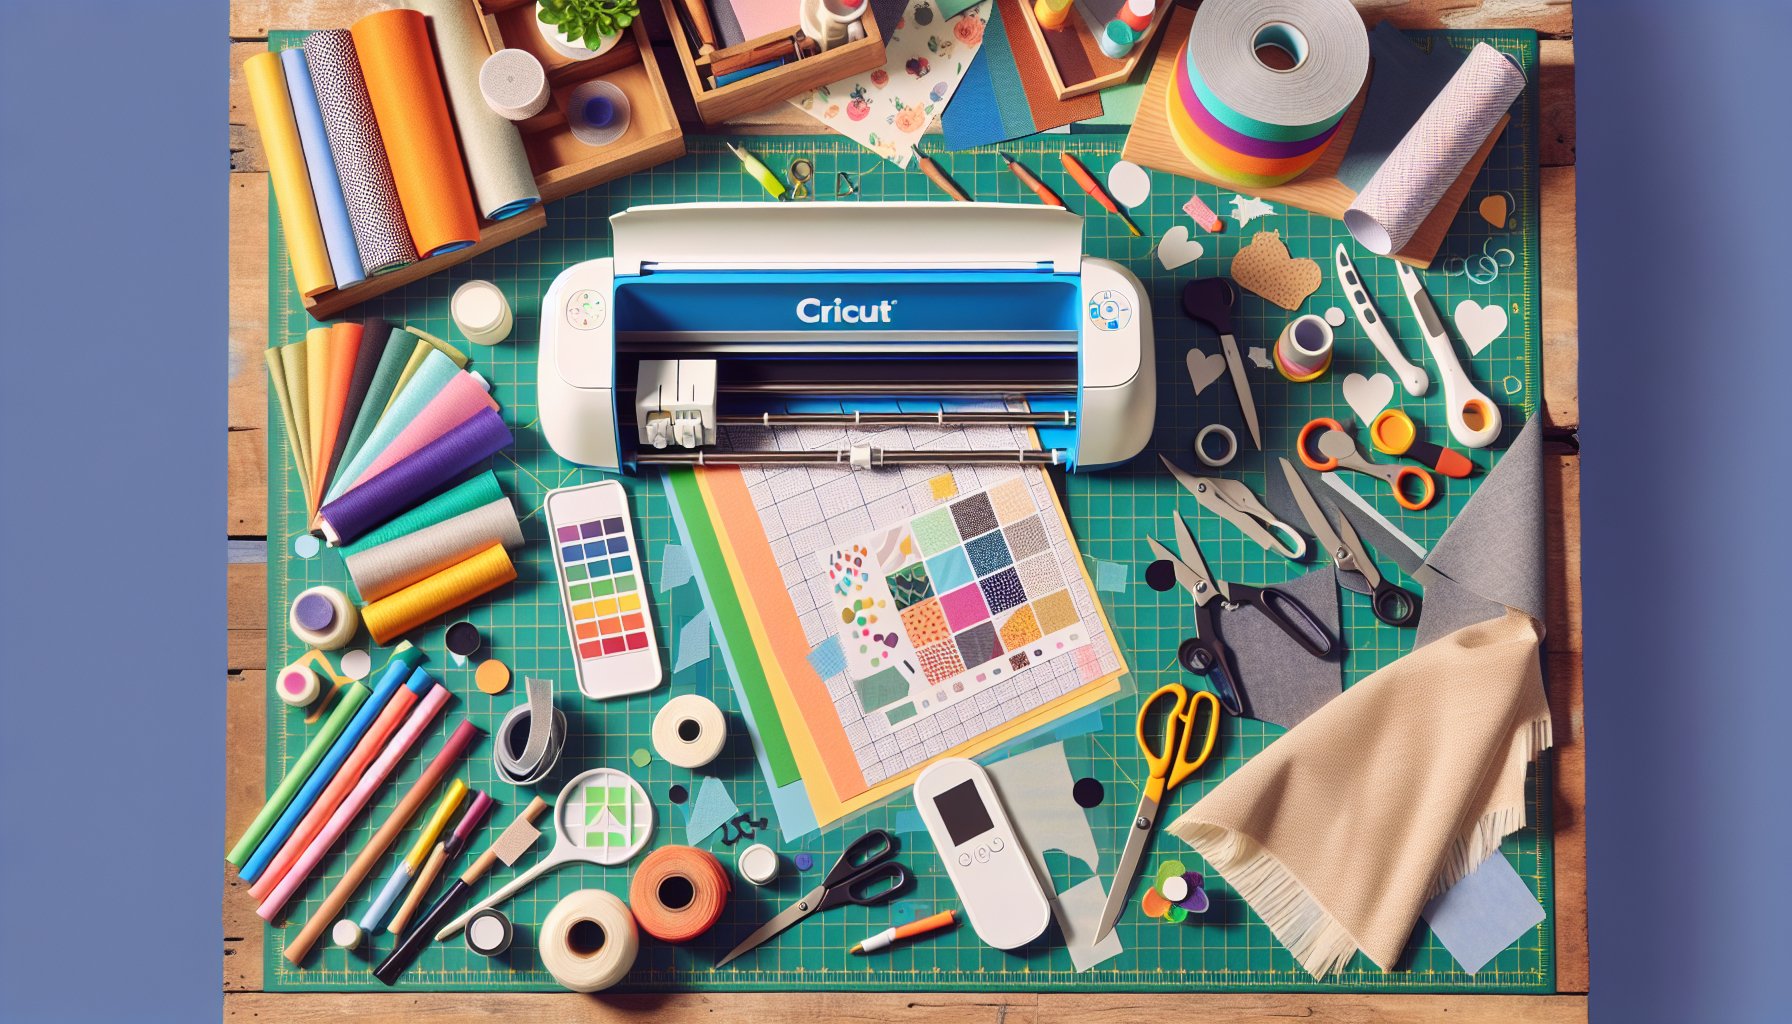
What Makes Heat-Activated Reflective Vinyl Perfect for Cricut Crafting?
If you're a Cricut crafter, you're probably always on the hunt for new materials that bring your creative visions to life, right? Well, let’s talk about one of the most versatile and eye-catching options out there: Heat-Activated Reflective Vinyl. Whether you're an expert or just starting out, this material is a game-changer.
What’s so fabulous about Heat-Activated Reflective Vinyl? First of all, it's delightfully easy to work with. Cut, weed, and transfer it effortlessly using your Cricut machine. Secondly, the reflectiveness adds an extra layer of utility and aesthetics. Imagine having a design that not only looks great during the day but becomes highly visible at night as well! Practical for safety wear, trendy for fashion, and eye-catching for decor, the possibilities are endless.
This material is known for its durability. Unlike traditional vinyl, it stands up well to weather and washing, meaning your creations will maintain their allure and functionality over time. With that said, let’s dive into some innovative uses of Heat-Activated Reflective Vinyl that you can tackle with your Cricut machine.
DIY Ideas for Using Heat-Activated Reflective Vinyl
1. Reflective Fashion Statements
Who says safety can't be chic? Add reflective designs to your clothing and accessories to make them both stylish and functional. Create custom decals for jackets, hats, and even shoes. Perfect for joggers, cyclists, and anyone wanting to make a bold statement, this vinyl makes you visible and fashionable simultaneously. Use it to craft unique reflective patches that you can sew onto various garments.
2. Personalized Reflective Bags
Elevate your bag game by adding reflective details to backpacks, tote bags, and gym bags. Not only does this make your items uniquely yours, but it also adds an element of safety when walking or biking at night. Reflective designs are especially useful for kids' school bags. Think about it—an eye-catching pattern that also keeps them visible during darker hours! Simply download a design from an SVG library, cut it out using your Cricut, and you're ready to go.
3. Nighttime Sporting Gear
If you love engaging in nighttime sports, this vinyl is your new best friend. Customize your sportswear with reflective designs for optimal visibility. Think jerseys with a personal emblem or a pair of running shorts with reflective stripes. You can even create your own sports armbands that are both functional and fun.
4. Emergency Kits
Having an emergency kit is essential, but making it reflective? Genius! You can use Heat-Activated Reflective Vinyl to label and decorate your emergency supplies, making them easy to find in the dark. This can be particularly useful for first-aid kits, roadside emergency bags, or even camping gear.
5. Pet Safety Items
Don't forget about your furry friends. Create reflective collars, leashes, and vests for your pets. This is particularly useful for those evening walks. Sporting reflective gear ensures that your pets are seen by approaching vehicles, keeping them safe in low-light conditions.
Step-by-Step Guide: How to Use Heat-Activated Reflective Vinyl with Your Cricut
Materials Needed:
- Cricut Machine
- Mat (LightGrip or StandardGrip)
- Heat-Activated Reflective Vinyl
- Weeding Tools
- Heat Press or Iron
- Cricut Design Space
Step 1: Design Your Project
Fire up Cricut Design Space and upload or create your SVG designs. If you're looking for creative designs, you can find a variety online. Scale your design to match the dimensions of your project. Simple or intricate, Design Space has the tools you need to bring it to life.
Step 2: Cutting the Vinyl
Place your Heat-Activated Reflective Vinyl shiny side down on your Cricut mat. Make sure to select the appropriate settings for reflective vinyl in Design Space. Load the mat into your Cricut machine, and let it do the magic. The precision of Cricut cutting ensures clean lines and detailed finishes.
Step 3: Weeding the Excess Vinyl
Once your cut is complete, use weeding tools to carefully remove the excess vinyl, leaving behind only your design. This step may seem tedious but is crucial for a polished end result. Patience is key, especially with more intricate designs.
Step 4: Transferring the Design
Position your cut design on the item you wish to transfer it to. Preheat your iron or heat press to adhere the vinyl to the fabric. If you're using an iron, ensure even pressure by moving it around. For a heat press, apply consistent pressure according to the vinyl's instructions. The heat activates the adhesive, bonding your design to the fabric.
Step 5: Peel and Reveal
Once the vinyl has adhered, allow it to cool slightly before removing the carrier sheet. Voila! Your custom reflective design is now ready to shine, both literally and figuratively.
Feeling inspired? Whether you’re gearing up for a nighttime run, making a fashion statement, or just keeping things safe and stylish, the possibilities really are endless with Heat-Activated Reflective Vinyl. Ready to get started? Order Cricut Heat-Activated Reflective Vinyl Materials Needed today and let your creativity light up the night!
Remember, your creative expression just got a reflective upgrade. So go ahead, and make something that truly stands out in the crowd.
P.S. Don't forget to order your materials and happy crafting!


