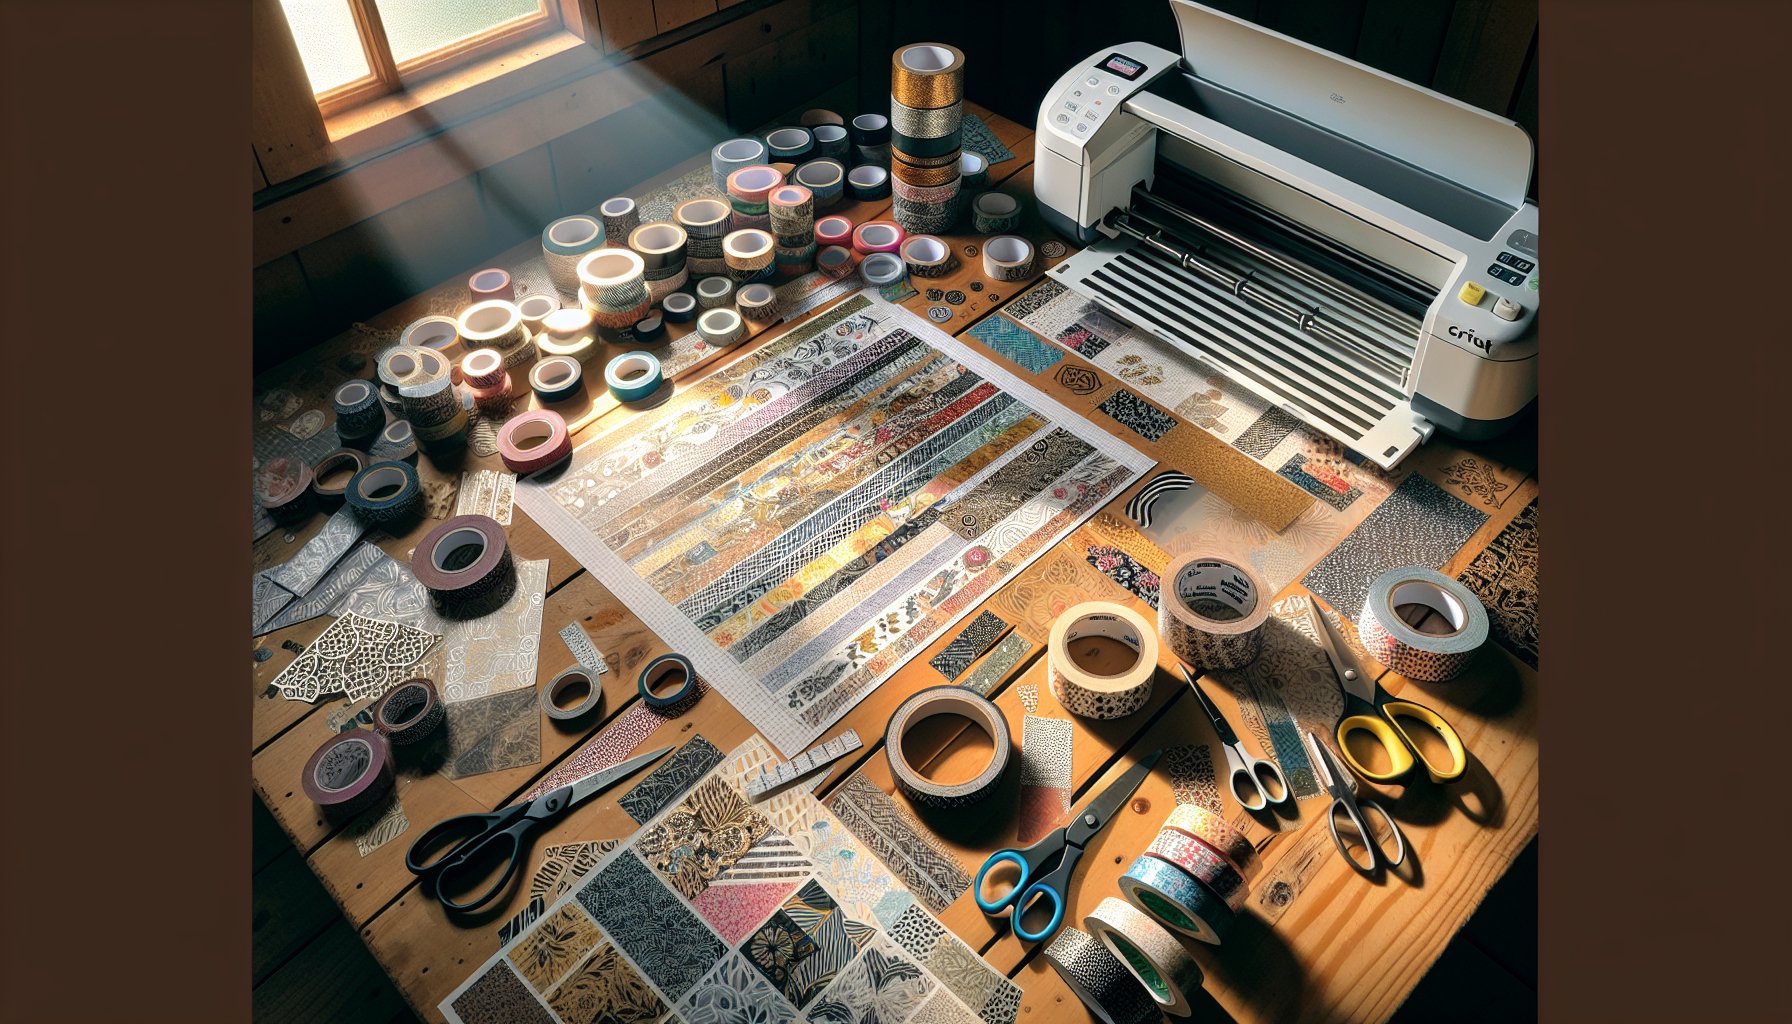
If you're a DIY crafter with a Cricut machine, you already know how versatile crafting can be. With endless possibilities, it’s often the little details that make your project pop, and nothing adds more flair than Metallic Contact Paper. This vibrant, shiny material brings an extra dash of sophistication and glamour to your creations, making it a favorite among Cricut enthusiasts for good reason.
Metallic Contact Paper is not just striking to look at; it’s also durable and easy to work with. Whether you’re looking to make intricate designs, personalized gifts, or home décor, this material will not disappoint. The adhesive backing ensures a smooth application with minimal fuss, while its reflective surface catches the light and captures your attention.
Personalized Mugs and Tumblers
Why settle for ordinary when you can have extraordinary? Using Metallic Contact Paper, you can create stunning, personalized mugs and tumblers. Just select a design or monogram from Cricut Design Space, cut it using your Cricut machine, and adhere it to your tumbler or mug. It’s a perfect way to add a luxurious touch to a daily essential!
DIY Wall Art
Revamp your living space with some custom wall art. Choose your favorite quotes or images, cut them out of the Metallic Contact Paper, and mount them on a blank canvas or directly onto your wall. This minimalistic, yet elegant look can instantly elevate any room’s aesthetic.
Keep your home or office organized in style by creating customized labels and tags. From pantry jars to office supplies, Metallic Contact Paper adds a sparkling touch that’s both functional and visually appealing. Imagine opening your pantry to see your spices neatly labeled with chic, metallic labels – it’s organization that’s a feast for the eyes!
Elegant Gift Wrapping
Transform your gift giving with personalized gift tags and wrapping accents made from Metallic Contact Paper. Handcrafted tags attached to a beautifully wrapped gift make a striking impression. Your friends and family will be in awe of the extra effort and sophistication of your presents.
Custom Phone and Laptop Skins
Add a personalized touch to your gadgets with custom phone and laptop skins. These protective and decorative skins are easy to make and apply, ensuring your gadgets not only look great but also are protected from everyday wear and tear.
Festive Seasonal Décor
From Christmas to Halloween, Metallic Contact Paper can be used to create festive decorations. Think shimmering snowflakes, glittering pumpkins, and shiny banners that add a touch of sophistication to any seasonal setup. Crafting personalized, seasonal décor ensures your home is festive and unique all year round.
Ready to dive in? Here’s your step-by-step guide on how to use Metallic Contact Paper in your Cricut machine:
Materials Needed
- Metallic Contact Paper (Order Cricut Metallic Contact Paper Materials Needed)
- Cricut Machine
- Cricut Design Space software
- StandardGrip or LightGrip Cutting Mat
- Weeding Tool
- Transfer Tape
- Item to apply the decal (e.g., mug, wall, phone)
Step 1: Design Your Project in Cricut Design Space
Open Cricut Design Space and create or select your desired design. Adjust the size and layout as needed to fit your project. You can find a variety of beautiful SVG designs at UnlimitedSVGDesigns.com.
Place the Metallic Contact Paper face up on a StandardGrip or LightGrip Cutting Mat. Smooth out any bubbles or wrinkles to ensure a clean cut.
Step 3: Cutting with Your Cricut Machine
Load the cutting mat into your Cricut machine. Set the material type to "Metallic Contact Paper" if available in the custom settings, otherwise, you can manually adjust the setting for vinyl. Start the cut using your Cricut machine.
Step 4: Weeding the Design
Once the cut is complete, carefully weed out the negative spaces of your design using a weeding tool. This step ensures that only your desired design remains on the backing paper.
Step 5: Applying Transfer Tape
Place a piece of transfer tape over your weeded design, smoothing it out to remove bubbles. Gently peel away the backing paper, ensuring the design transfers to the tape.
Step 6: Applying to Your Surface
Position the design onto your desired surface and gently press the transfer tape to adhere the design. Smooth out any bubbles and carefully peel away the transfer tape, leaving your stunning Metallic Contact Paper design in place.
And there you have it! An easy and effective way to add a little metallic glam to your everyday items. For a steady supply of your crafting needs, don’t forget to Order Cricut Metallic Contact Paper Materials Needed now.
Happy crafting!


