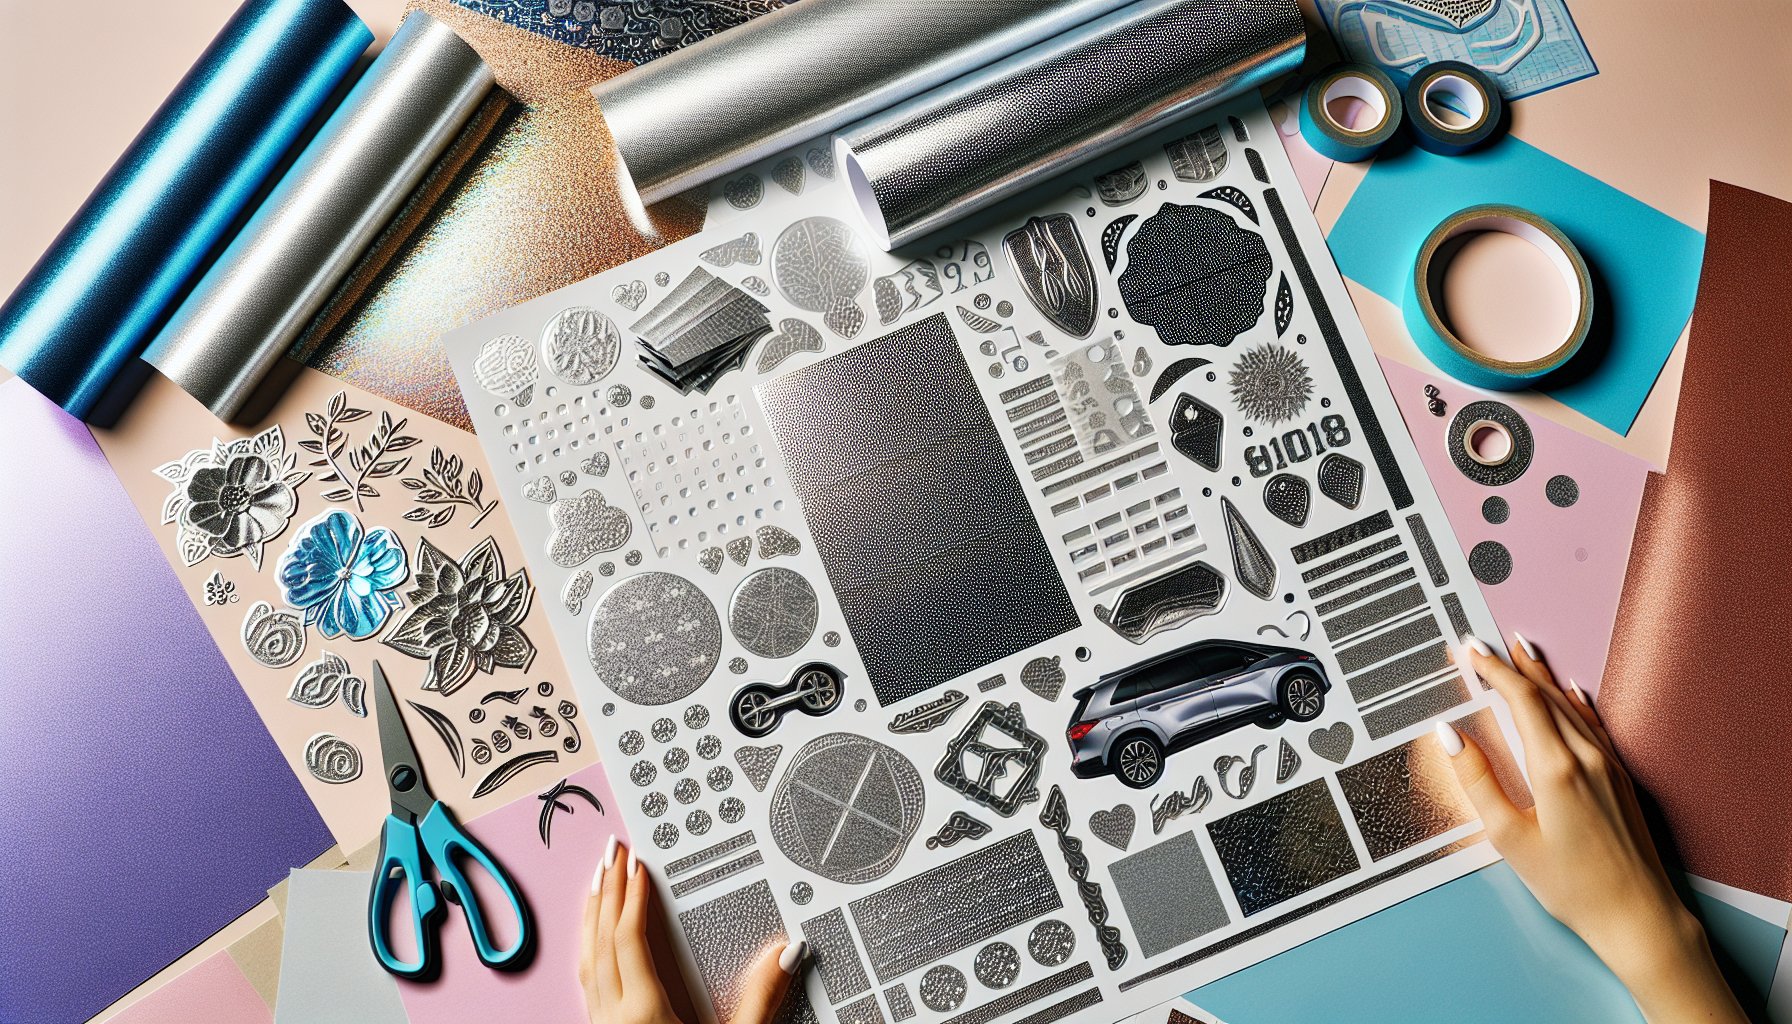
Crafting Inspiration: Perforated Window Vinyl Material Uses
Vinyl with tiny holes, ideal for creating one-way visibility decals for windows.. [Read the full article below]
Order cricut-material-perforated-window-vinyl
Vinyl with tiny holes, ideal for creating one-way visibility decals for windows.. [Read the full article below]
Order cricut-material-perforated-window-vinyl
If you’re a Cricut DIY enthusiast, you likely know the transformative power of different crafting materials. One material that deserves a special spotlight is the Cricut Perforated Window Vinyl. This unique medium provides a distinctive blend of design flair and practical functionality. You can create amazing designs while maintaining the visibility and light flow through windows. The perforations make it a perfect choice for vehicle wraps, retail window decals, home decor, and more. Its adaptability and ease of use are what make it a must-have in your Cricut crafting arsenal.
Ever thought of adding a personalized touch to your vehicle? Perforated Window Vinyl offers the perfect solution. With your Cricut machine, you can create unique designs and slogans for your car's rear window. This material allows you to maintain visibility through the window while showcasing your creativity and personality.
Use Perforated Window Vinyl to add privacy to your home without sacrificing natural light. Whether it's for the bathroom or a street-facing window, you can craft beautiful, intricate designs that will give you the privacy you need while still brightening up your space.
For those running small businesses, Perforated Window Vinyl can be a game-changer. Dress up your retail space with eye-catching window displays that attract customers without blocking the view from inside. This material allows shoppers to see what's going on inside while also presenting compelling advertising.
Transform your workspace and make it more inviting with Perforated Window Vinyl. Whether you want to add brand logos to the conference room glass or motivational quotes to your office windows, this material lets you get creative while maintaining open, light-filled spaces.
Instead of using traditional room dividers, consider creating custom perforated vinyl screens. These can be perfect for dividing larger spaces into distinct areas while maintaining an airy feel. It is an innovative way to add both functionality and artistry to your home.
- Perforated Window Vinyl
- Cricut Machine (e.g., Maker, Explore)
- Cricut StandardGrip Cutting Mat
- Cricut Transfer Tape
- Scraper or Burnishing Tool
- Weeding Tool
- Design Space Software
Order all materials needed for this project from the link: Order Cricut Perforated Window Vinyl Materials Needed.
Open Cricut Design Space on your computer or mobile device. If you don't already have a design in mind, browse through the vast library of project ideas. You can even upload your own SVG designs. Here’s a great resource for SVG designs: Unlimited SVG Designs.
Place the Perforated Window Vinyl onto the Cricut StandardGrip Cutting Mat, ensuring that it adheres well and there are no bubbles. Load the mat into your Cricut machine.
On Cricut Design Space, select the material settings suitable for Perforated Window Vinyl. This setting can usually be found under "Vinyl" or a similar category. Proceed to cut the design, making sure to monitor the progress so that the vinyl cuts accurately.
Once the cutting is complete, unload the mat and carefully weed out the excess vinyl using a weeding tool. This step requires patience and precision to ensure that your design remains intact.
Cut a piece of Cricut Transfer Tape to fit over your design. Peel the backing off and carefully apply the transfer tape over the vinyl, using a scraper or burnishing tool to press down firmly and remove any bubbles.
We’re almost done! Peel the backing off the Perforated Window Vinyl, leaving the design attached to the transfer tape. Carefully position the vinyl onto your window or desired surface. Press it down using the scraper tool, ensuring it's firmly adhered.
Slowly peel off the transfer tape at an angle, leaving the vinyl design securely in place on your window. If there are any air bubbles, gently press them out with your scraper tool. Stand back and admire your beautiful, custom window design!
And there you have it – a step-by-step guide to using Cricut Perforated Window Vinyl for your next creative project. Ready to get crafting? Order all necessary materials here: Order Cricut Perforated Window Vinyl Materials Needed and embark on your next DIY adventure!